When I built raised beds and started my first vegetable garden last year, I was so stoked to have the guidance of the square foot gardening method. This plant spacing theory is that you can grow lots of food in a small square space, such as a raised bed, instead of long rows. And it prescribes how many plants you can grow in each square foot. So I created a grid of square foot sections in my beds using some twine and started planting by the square foot.
Over the last two summers, some crops have thrived in this setup, namely lettuce, peppers, basil, sage and carrots. I’d even say cucumbers and baby pumpkins might be ok in a square foot garden. But there are several crops that just aren’t working for me in this configuration for the best possible reason: the plants are thriving and need more space.
I had a whole post written about how square foot gardening doesn’t work with some bigger crops, but now I’m realizing that I, shockingly, got some bad information from the internet. There are online calculators that claim to be able to help you build your square foot garden design. The ones I used said that I could plant tomatoes, zucchini and pumpkins at a rate of one per square foot. This is incorrect according to Square Foot Gardening by Mel Bartholomew.
But I also think there are some crops that just don’t work in the square foot configuration. Here’s what I found in my garden this summer.
Big Plants That Need More Than One Square Foot
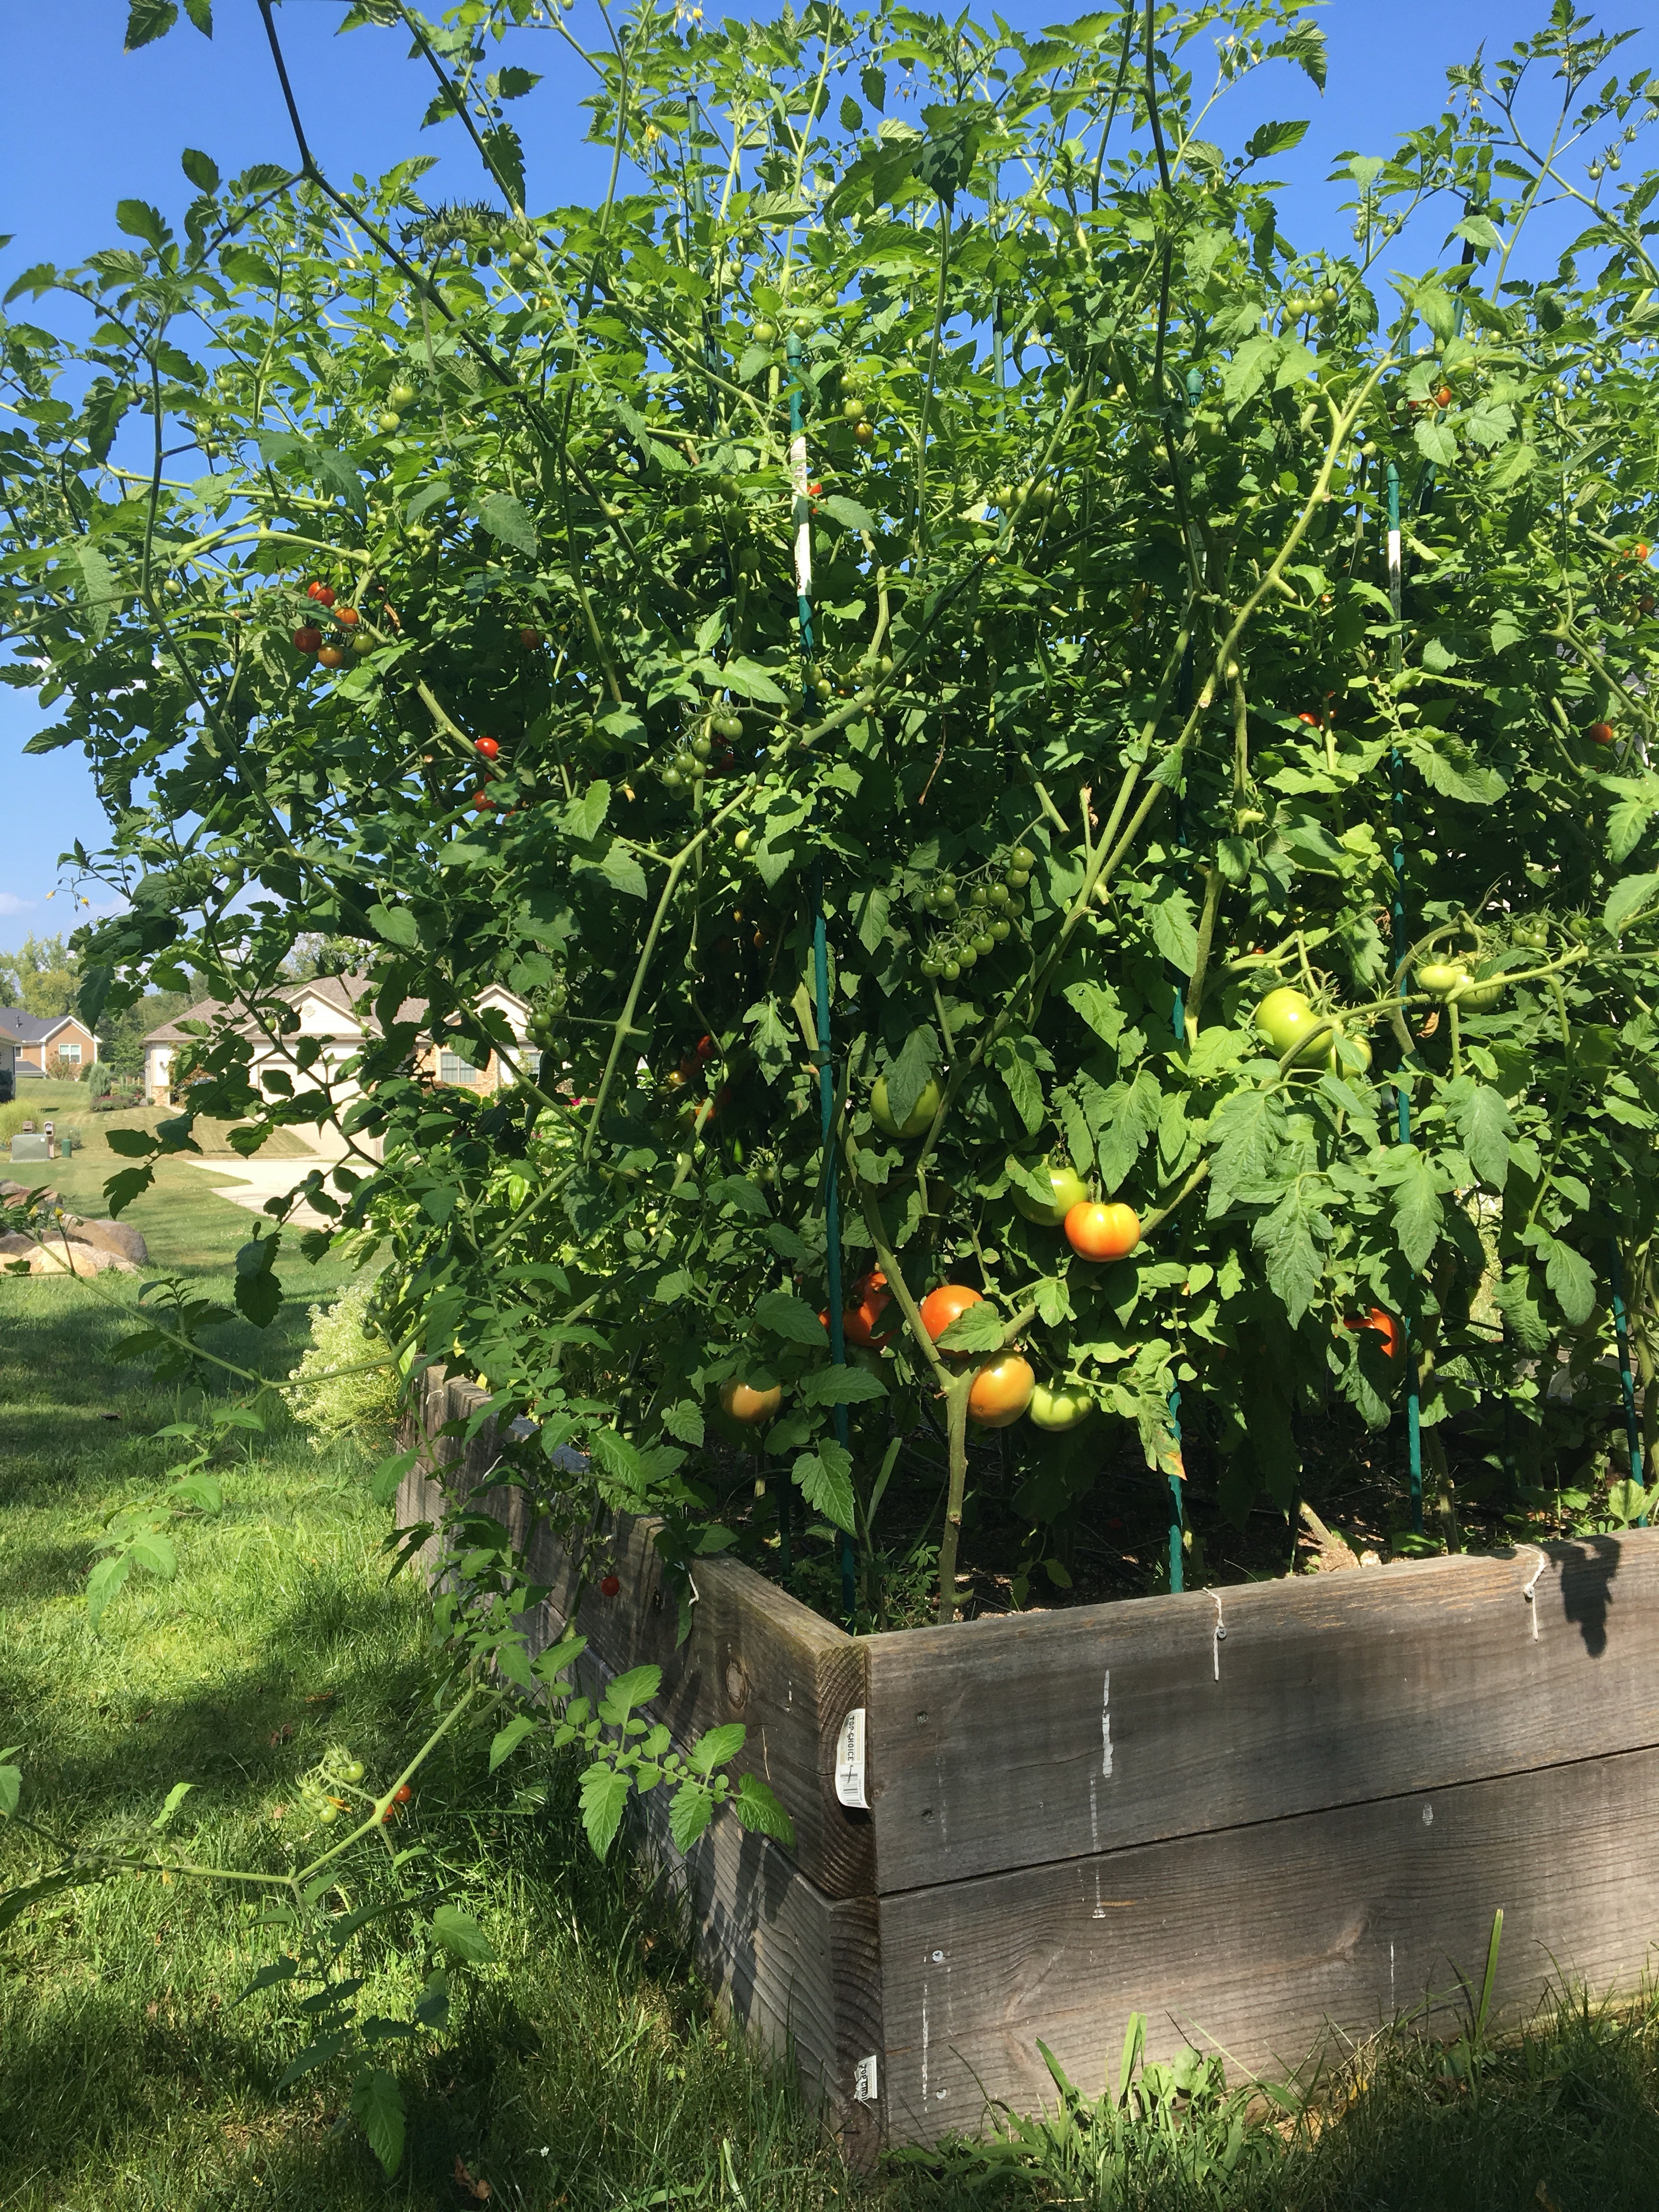
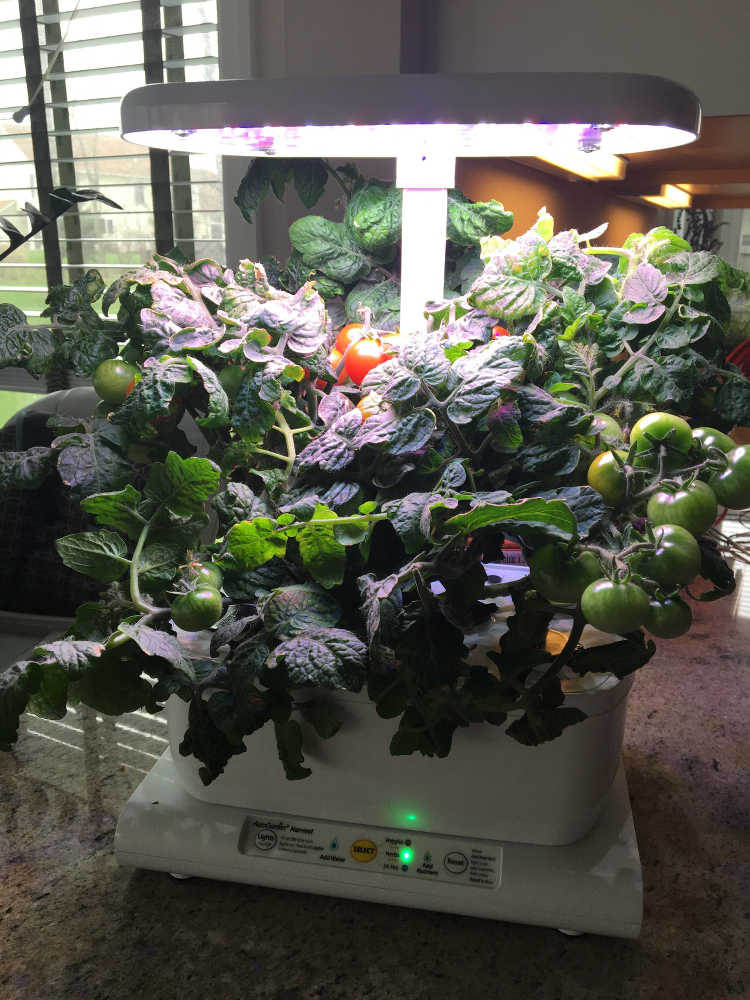
Tomatoes. I planted eight slicing type tomato plants and four cherry tomato plants, one plant per square foot.
I did a ton of pruning in those dense tomato branches and there was a ton that I missed because I just couldn’t reach some branches. I think it affected the production of the plants buried in the middle of that dense thicket.
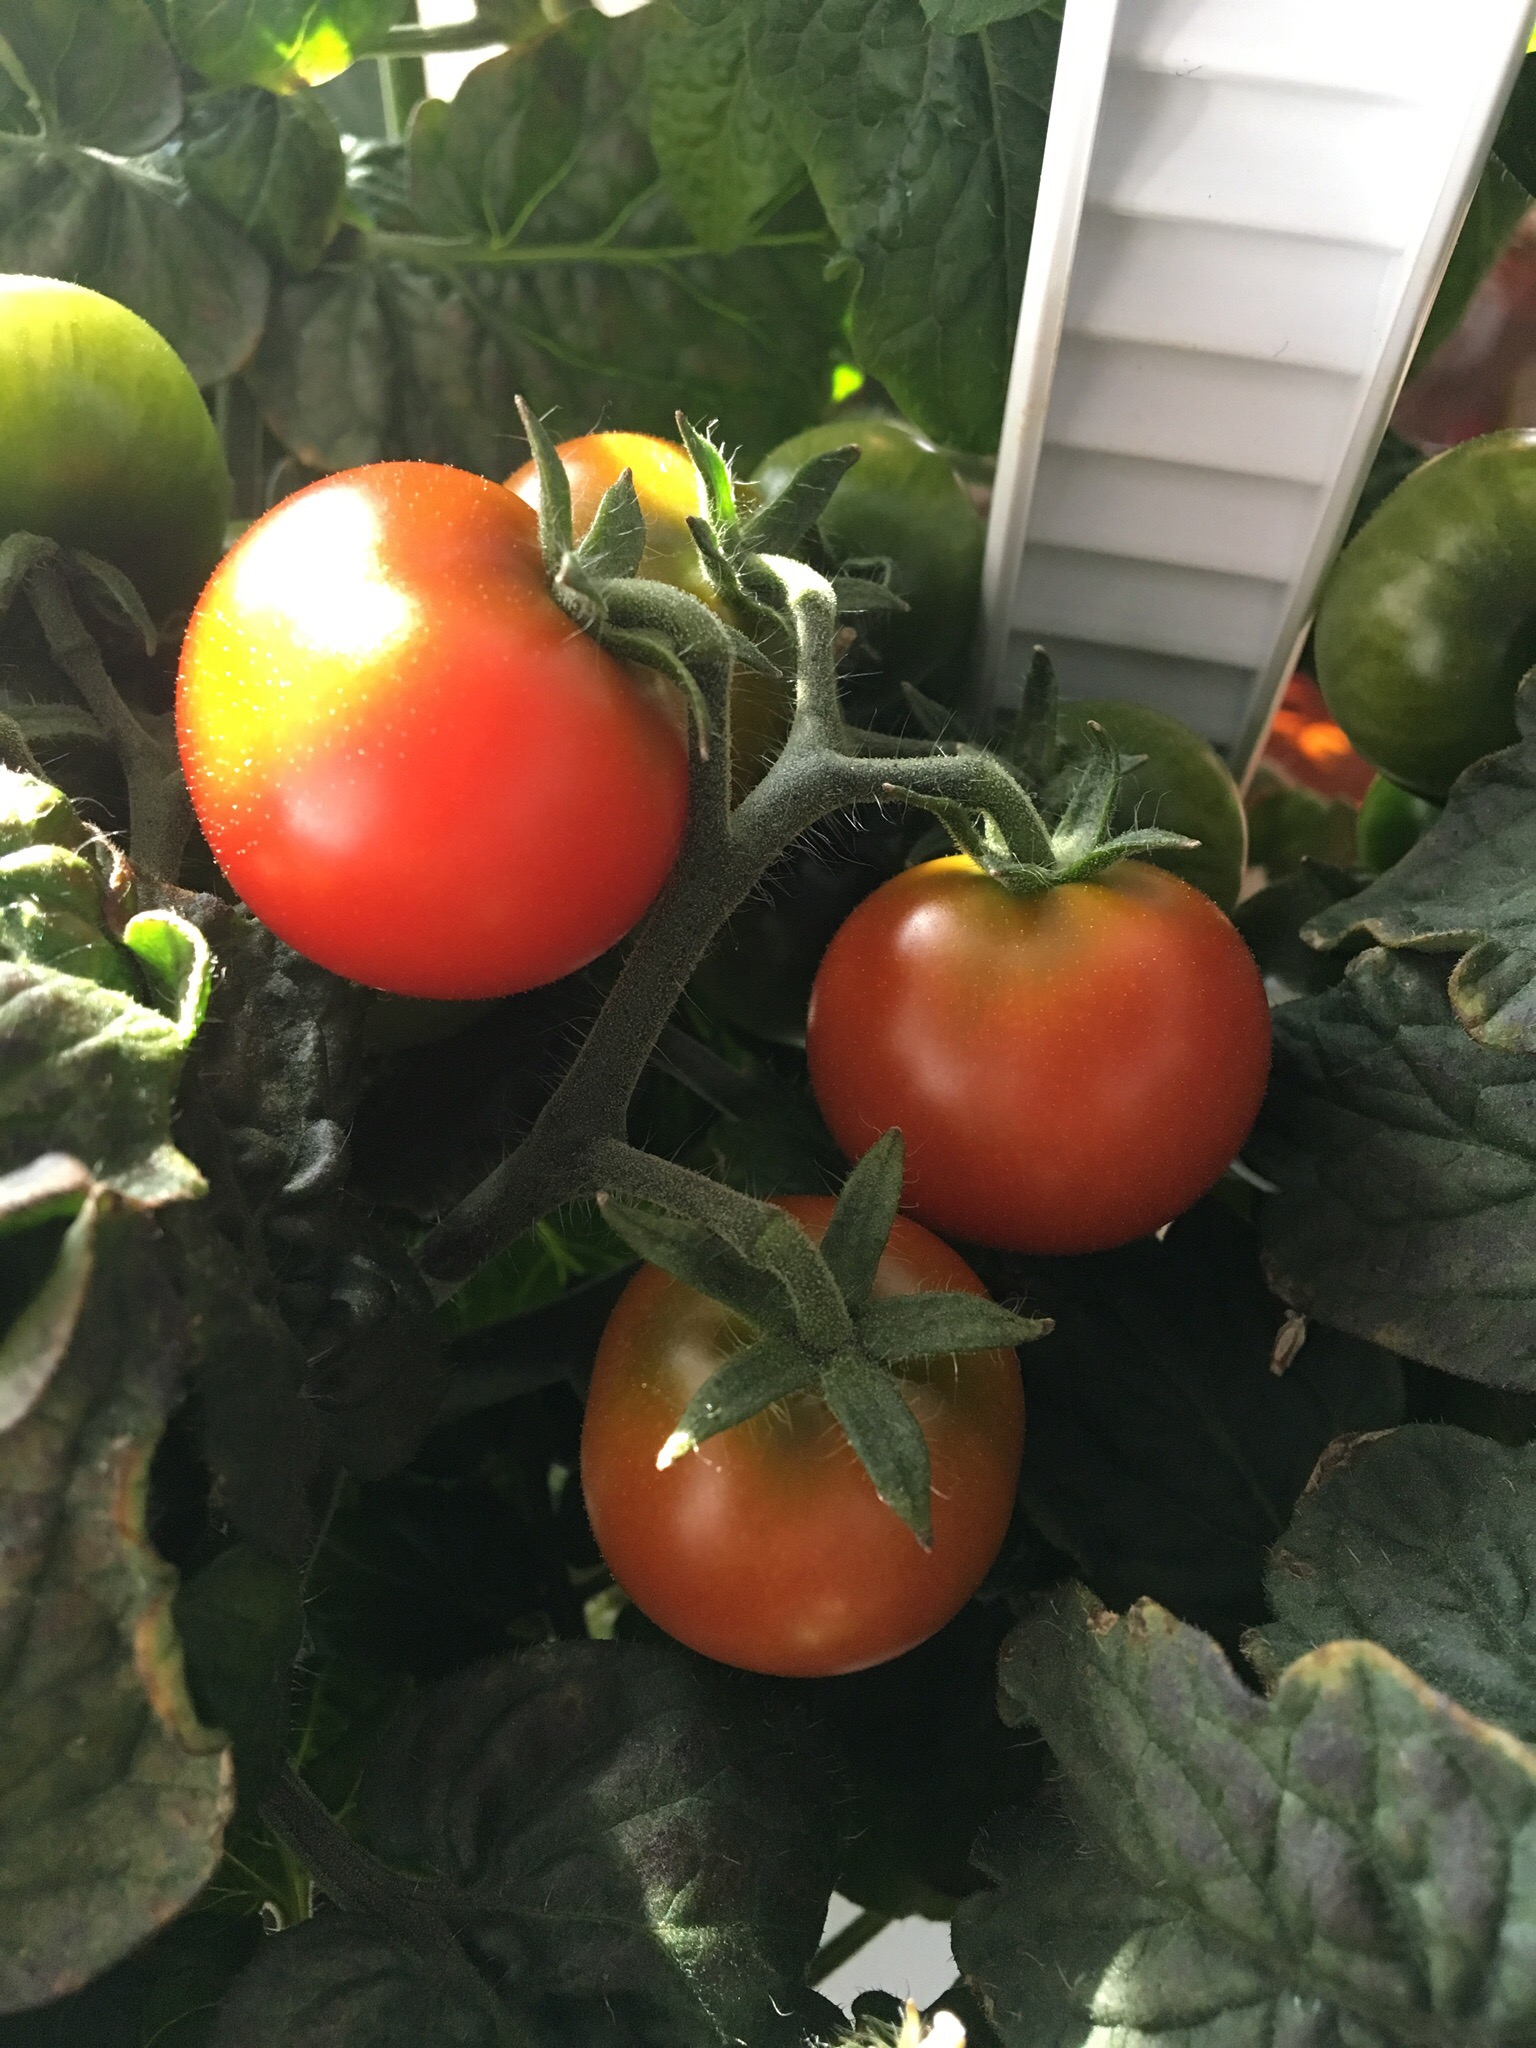
The fix. Bartholomew recommends planting slicing or beefsteak tomatoes at one per nine square feet. NINE! So these need much more room than I’ve been giving them. The cherry tomatoes are correctly planted at one per square foot, and boy did I reap a huge reward on that crop this year. More than 15 pounds of cherry tomatoes.
Zucchini. I’ve had powdery mildew problems on zucchini for the last two summers. I wonder if planting them too close together prevented air from circulating through the leaves.
I planted my zucchinis one per square foot in tomato cages to keep leaves up and off of the wet soil surface, to try to help with the powdery mildew problem. This didn’t seem to help. I still had to start spraying in early August and I only harvested three zucchini off two plants. Pretty much the same story as last year.
I’m not sure if powdery mildew is an inevitability in a humid climate like ours or if the plant spacing could really make a difference.
The fix. The actual recommendation for zucchini is one plant per two square feet. I’m debating whether or not to use the tomato cages again. They didn’t seem to do much for me this year. These plants were next to the rows of corn, which was also planted densely, restricting air movement and throwing shade onto the zucchini.
Pumpkins. Can vining plants work well in a square foot garden? Do they need more room to spread out or can they work on a trellis? This year, I had mini pumpkins growing over an A-frame trellis, one plant per square foot.
Production was low — three pumpkins on two plants. The plants were growing very well, but then got hit with powdery mildew mid to late in the season.
The fix. The recommendation for pumpkins is one per two square feet, so mine needed more space, but it seemed the trellis gave them good air circulation.
Three Crops That Are No Good For Square Foot Gardening
While I may have gotten some bad information about square foot gardening on the above crops, there are three I don’t think work in a square foot garden: corn, potatoes and romanesco broccoli. Here’s what happened.
Corn. Square foot gardening recommends four corn plants per square foot, but this is creating a very packed corn field. We produced ears this summer, but almost all of them showed zippering, or rows of missing kernels. The cause, from what I’m reading online, could be drastic temperature shifts, which we didn’t have, or a pollination problem.
The tassels up at the tops of the stalks have to pollinate every silk that grows at the top of each ear. If the plants are packed too close together, I can see how some silks would get missed.
The fix. I got some advice that while I can space plants about a foot apart in each row, the rows should be spaced much further apart. I don’t have this kind of room in my garden, so I think corn may be out for my 2018 garden.
Potatoes. There’s no way potatoes should be planted in my square foot garden. The two square feet of potatoes that I planted grew into some monster plants. They took up probably four times as much space as I allotted for them.
Also, I had a hard time mounding dirt up around the plants, which would have led to an even better harvest.
The fix. The recommendation in Square Foot Gardening is four potatoes per square foot. While you can grow these plants that close together, mine were so enormous that they were shading all the crops in the square feet around them.
I’ve seen separate bags for growing potatoes in, so I think I’ll get potatoes out of the raised beds altogether.
Romanesco Broccoli. This year, my broccoli romanesco plants really took off. In a crazy way. Their enormous leaves shaded all the surrounding crops: lettuce, peppers, carrots and sage. This was especially frustrating because by mid-summer, no broccoli crowns or heads had even formed. I pulled the plants out in mid-summer.
The fix. The book calls for one broccoli per square foot. I think this crop actually needs more like nine square feet or more of growing area. A whole raised bed just for romanesco. I’ve read that many people have trouble getting their romanesco to form heads. So although I’d love to see the golden ratio here in my garden, maybe no more romanesco in my garden. Sorry, romanesco.
The idea of a square foot garden is great — plant a whole bunch of crops in a small space. I was able to grow nice leafy plants this way, but the vegetable production was terrible. I’m not sure if this was due to overcrowding or watering or fertilization problems, but next year I need to do things differently.
I either need to cut back on the number of plants that I grow, possibly eliminating some crops, or I need more gardening space. I’m not totally throwing out the square foot method, but modifying it based on what I’ve tried. Stay tuned.
If you’re interested in learning about square foot gardening, please don’t rely on the internet. Go back to the original: Square Foot Gardening by Mel Bartholomew.
Do you swear by the square foot gardening method? Or have you had trouble with it? Leave a comment below or let me know on Twitter @howtonaturechat.
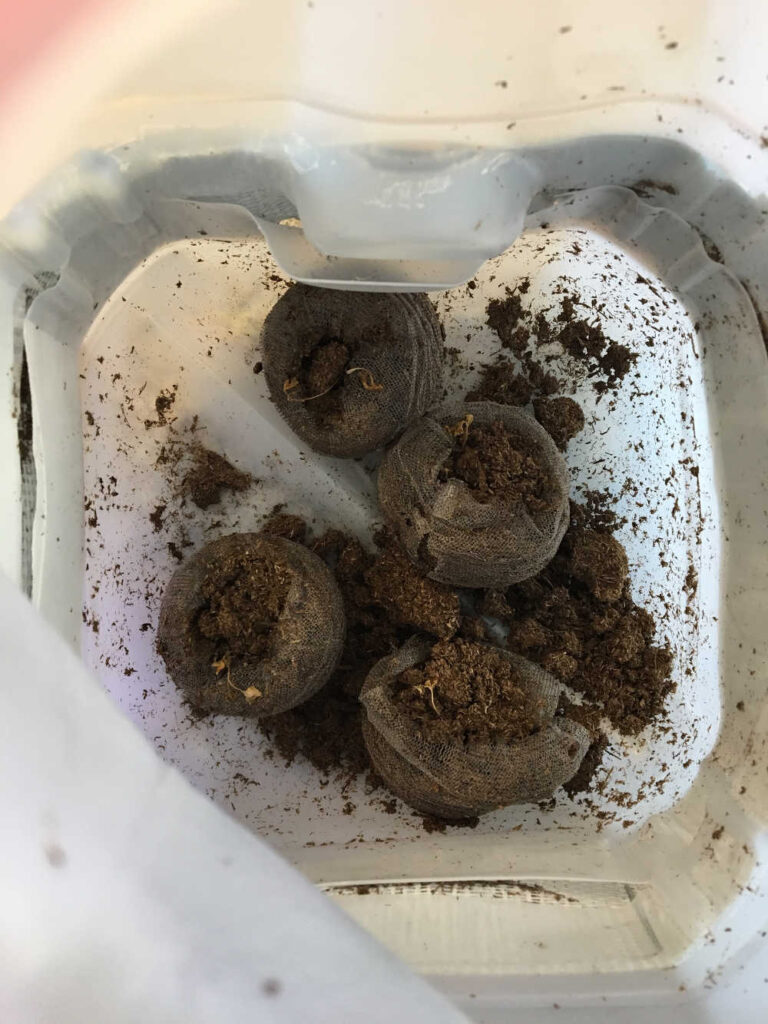
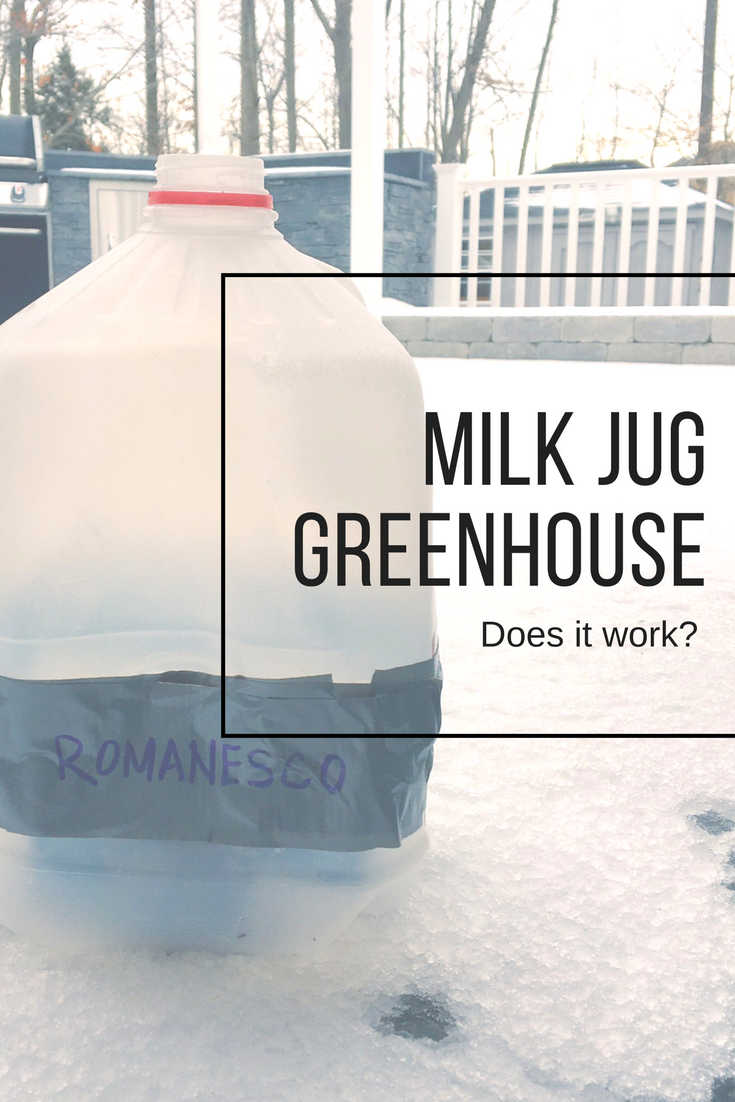
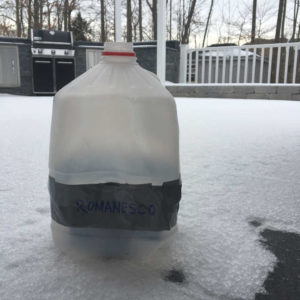 I’ve seen several articles online this winter about the milk jug greenhouse — starting seeds in a milk jug outside before your last frost date for some winter seed starting. It all sounds so easy!