Blog

  • Seven Spring Planting Tips for New Gardeners

    How’s your quarantine garden going? There are so many people jumping into this new hobby right now with such enthusiasm and it is truly inspiring. I’m seeing so many new gardeners starting tomato, cucumber and basil seeds while saying, “I have no idea what I’m doing.” Honestly, how many intermediate or experienced gardeners had that same feeling when starting their first gardens? Spoiler: It’s a lot of them.

    There’s a lot about gardening that they don’t mention on the seed packet. Here are a few tips and garden hacks to help you get your footing in the garden.

    Zinnia plants in raised bed garden

    1. Remember that experienced gardeners screw up all the time.

    I know it seems they’re magically, mystically in tune with the earth and nature, but they’re just like you when it comes to growing something they’ve never grown before. Gardening isn’t any more innate than knowing how to play the accordion. You have to learn.

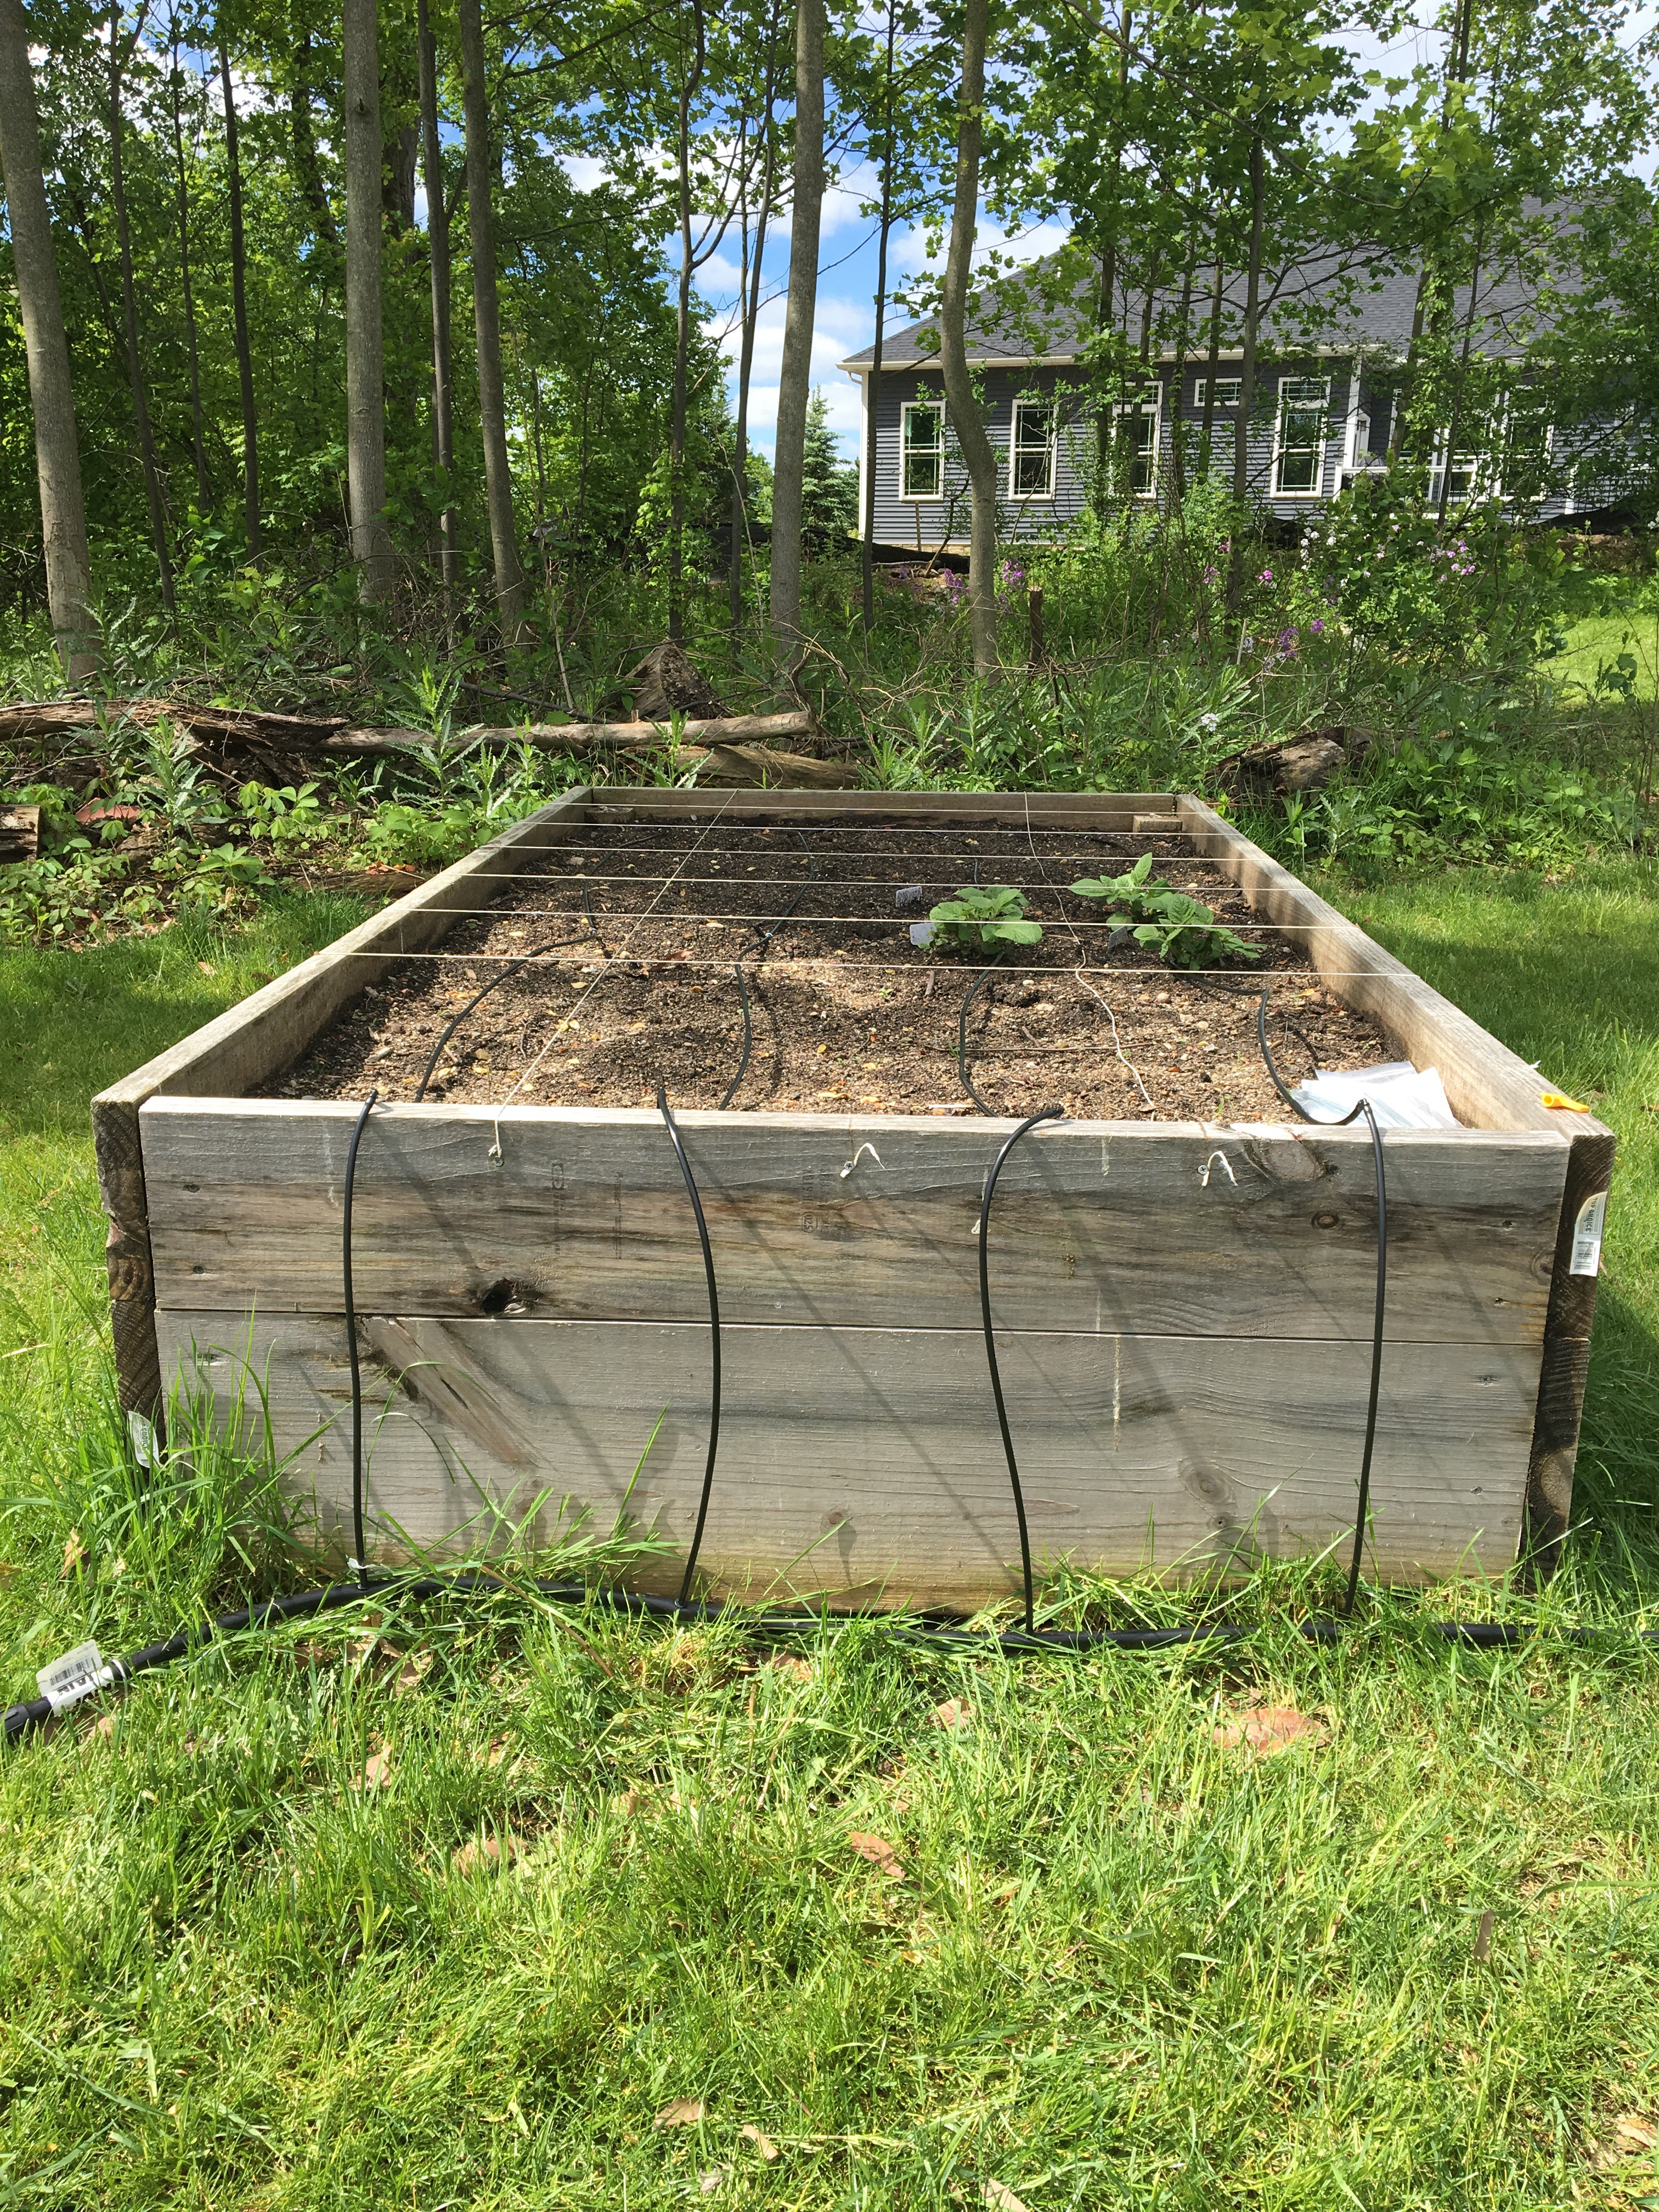
    2. The soil in your quarantine garden is important to your success.

    If it’s hard to dig in your garden, it’s also going to be hard for roots to grow there. Add compost. You can buy it in bags at your garden center or box store. Hopefully with curbside pickup. Or you can just buy garden soil and grow in containers or a raised bed. Check out these raised bed kits at Gardeners.com.

    3. Remember the flowers and herbs.

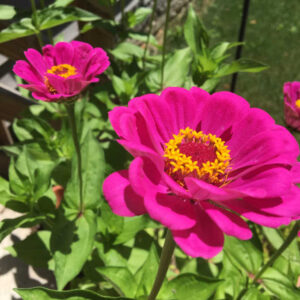
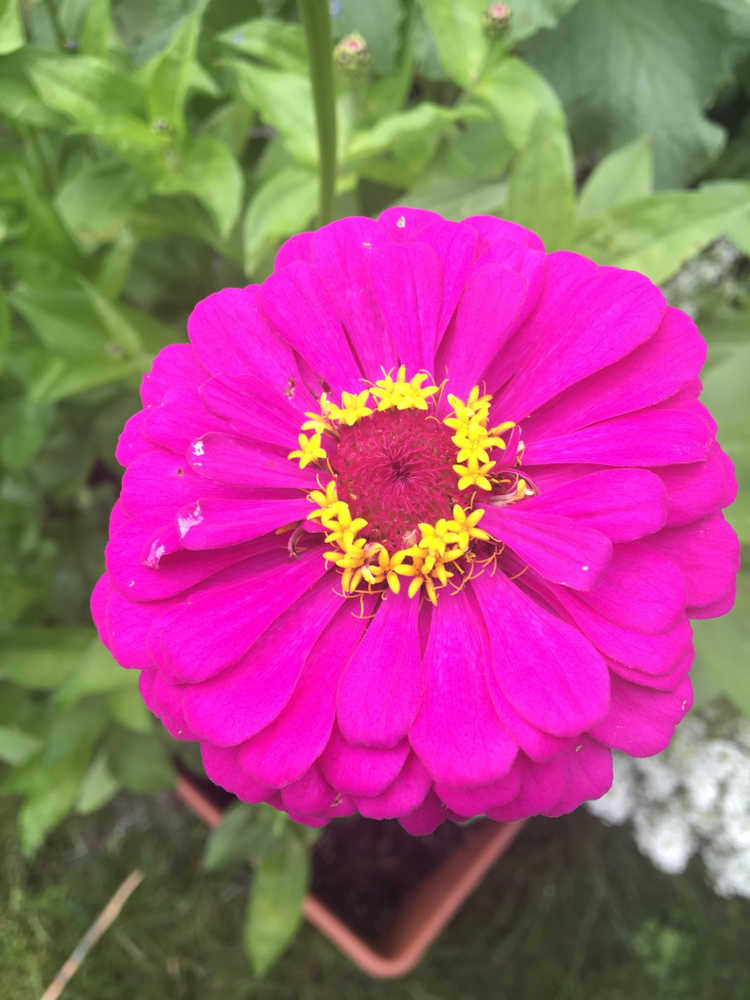
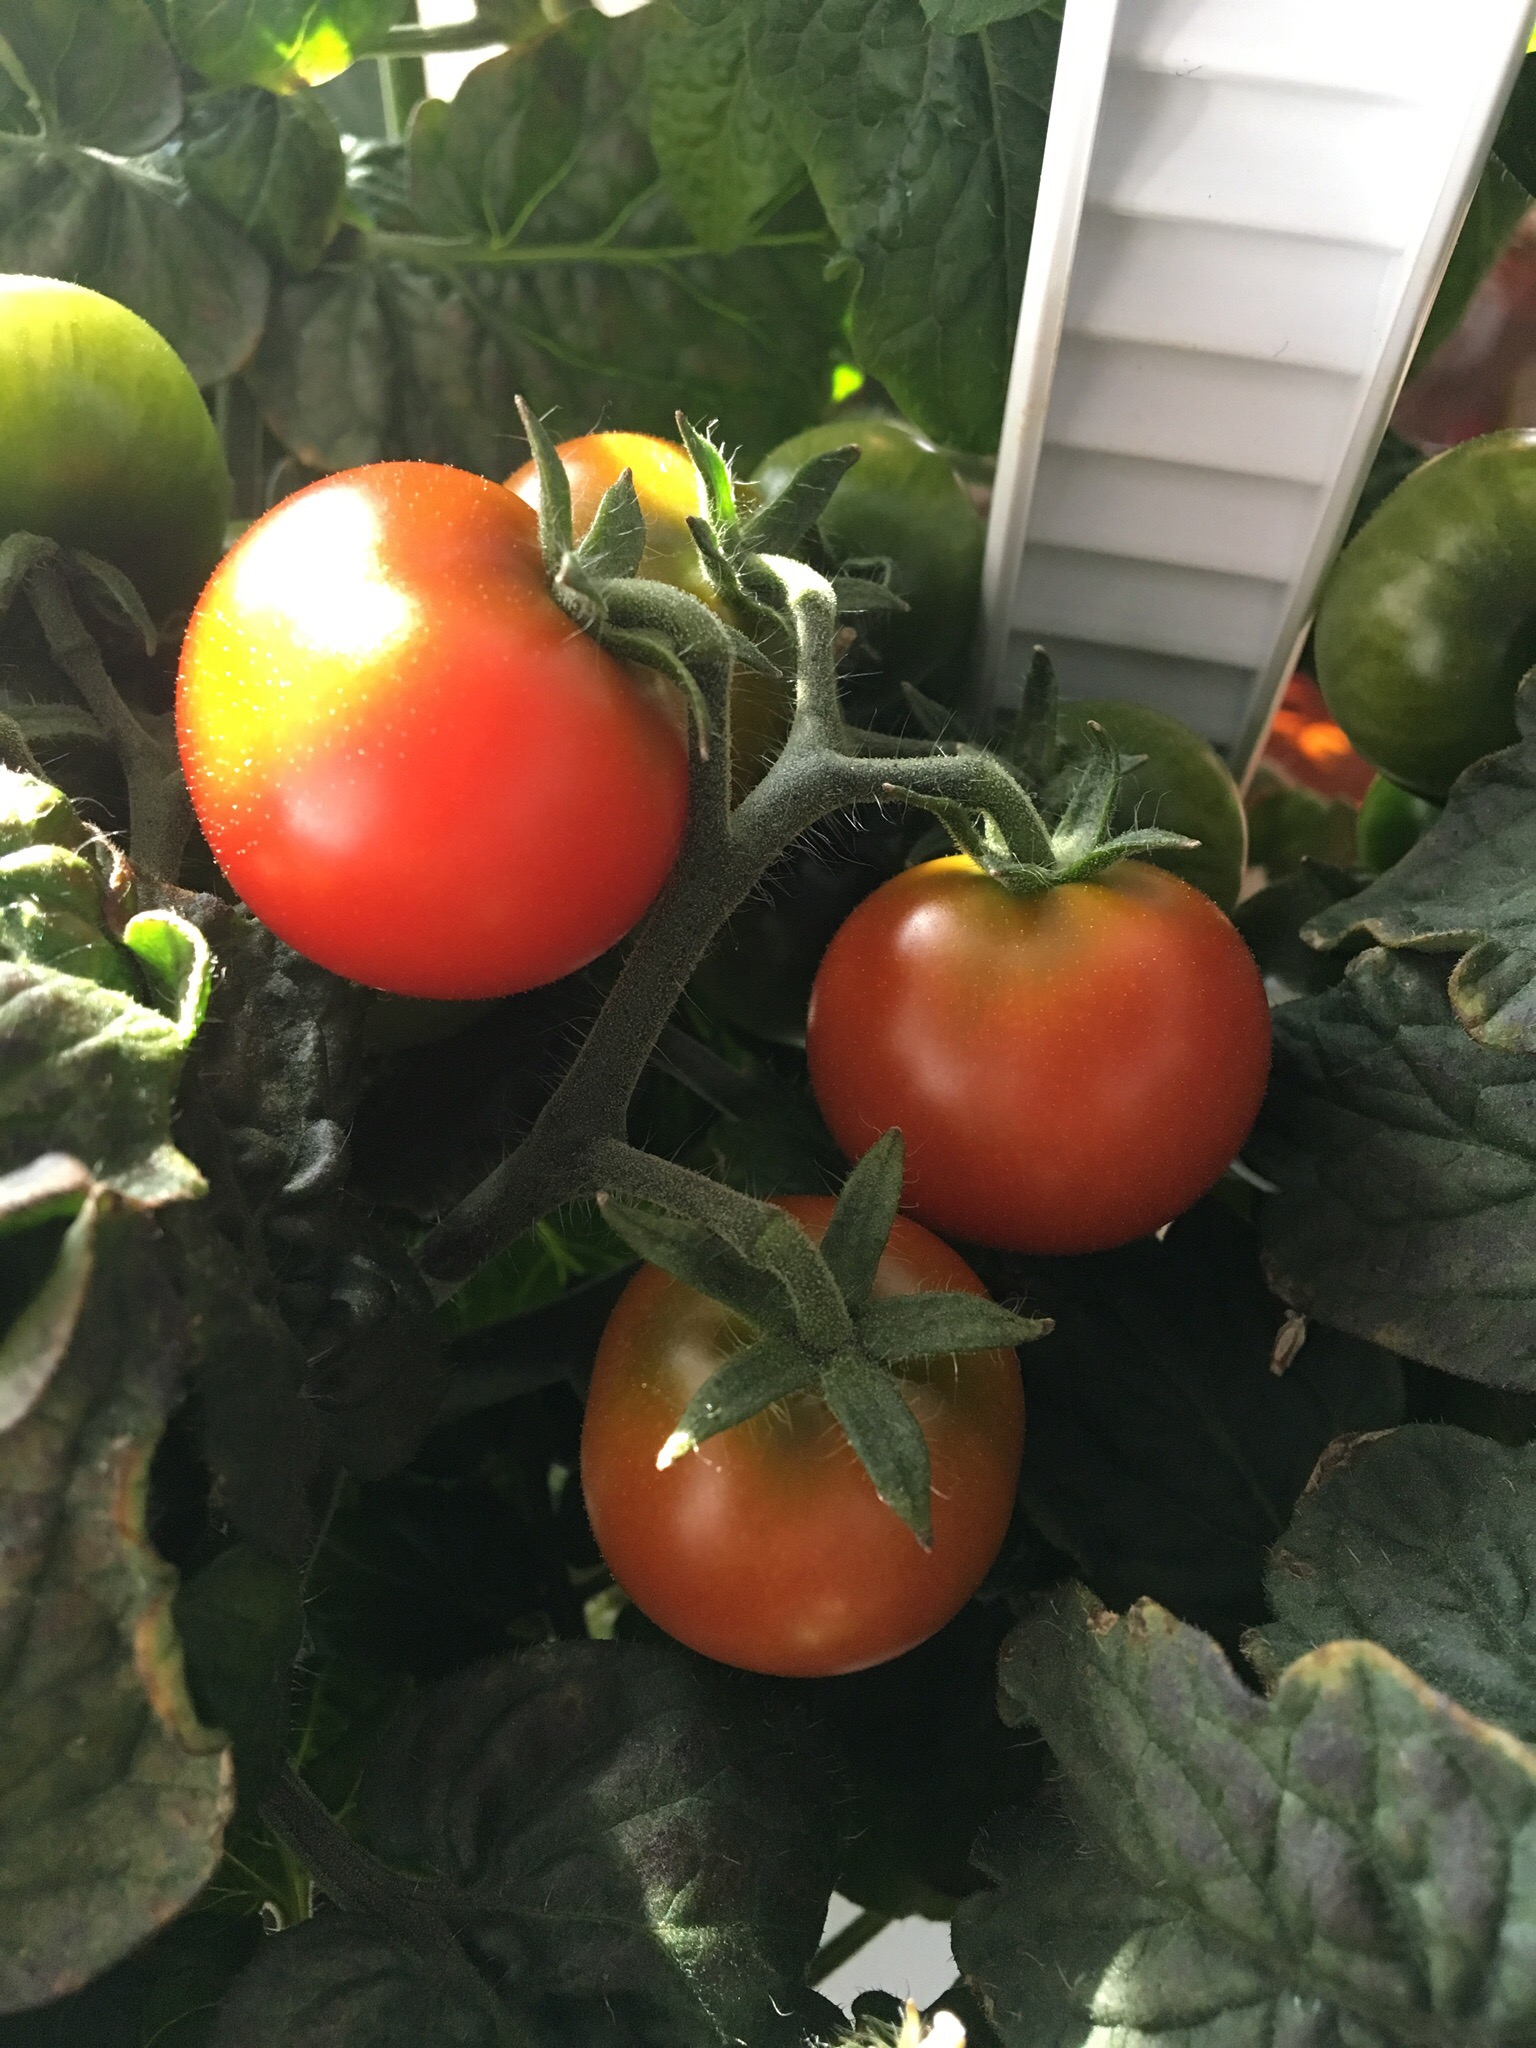
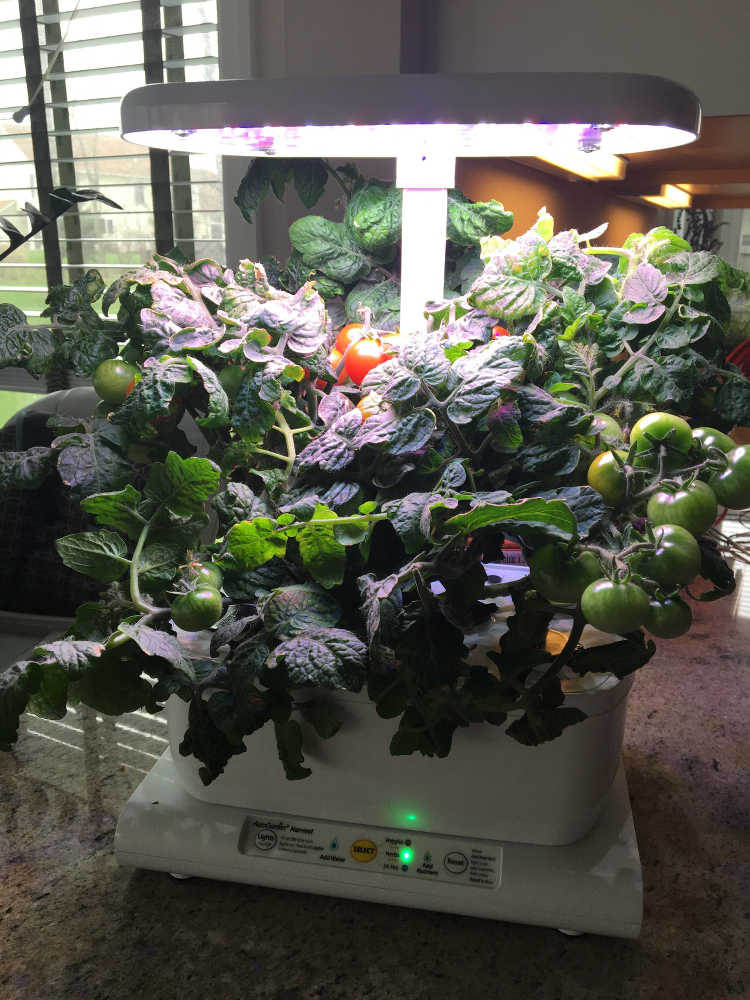
    Maybe you’re thinking you just want to grow food and you don’t have time to worry about growing flowers right now. But flowers attract bees, which pollinate your tomatoes and zucchinis. Zinnia, borage, larkspur, snapdragons, dahlias and monarda (bee balm) all attract pollinators. Marigolds protect tomatoes from underground pests. I’m growing chives this year because I had an aphid problem last year. Don’t skip the flowers.

    4. Write everything down.

    Write down the dates of when you start your seeds and when you plant them outside. Tag your seedlings somehow, either with plant tags or with notes and label them again in the garden. I use all those leftover plastic knives that accumulate. Here’s some advice I gave a few years ago about keeping a garden journal.

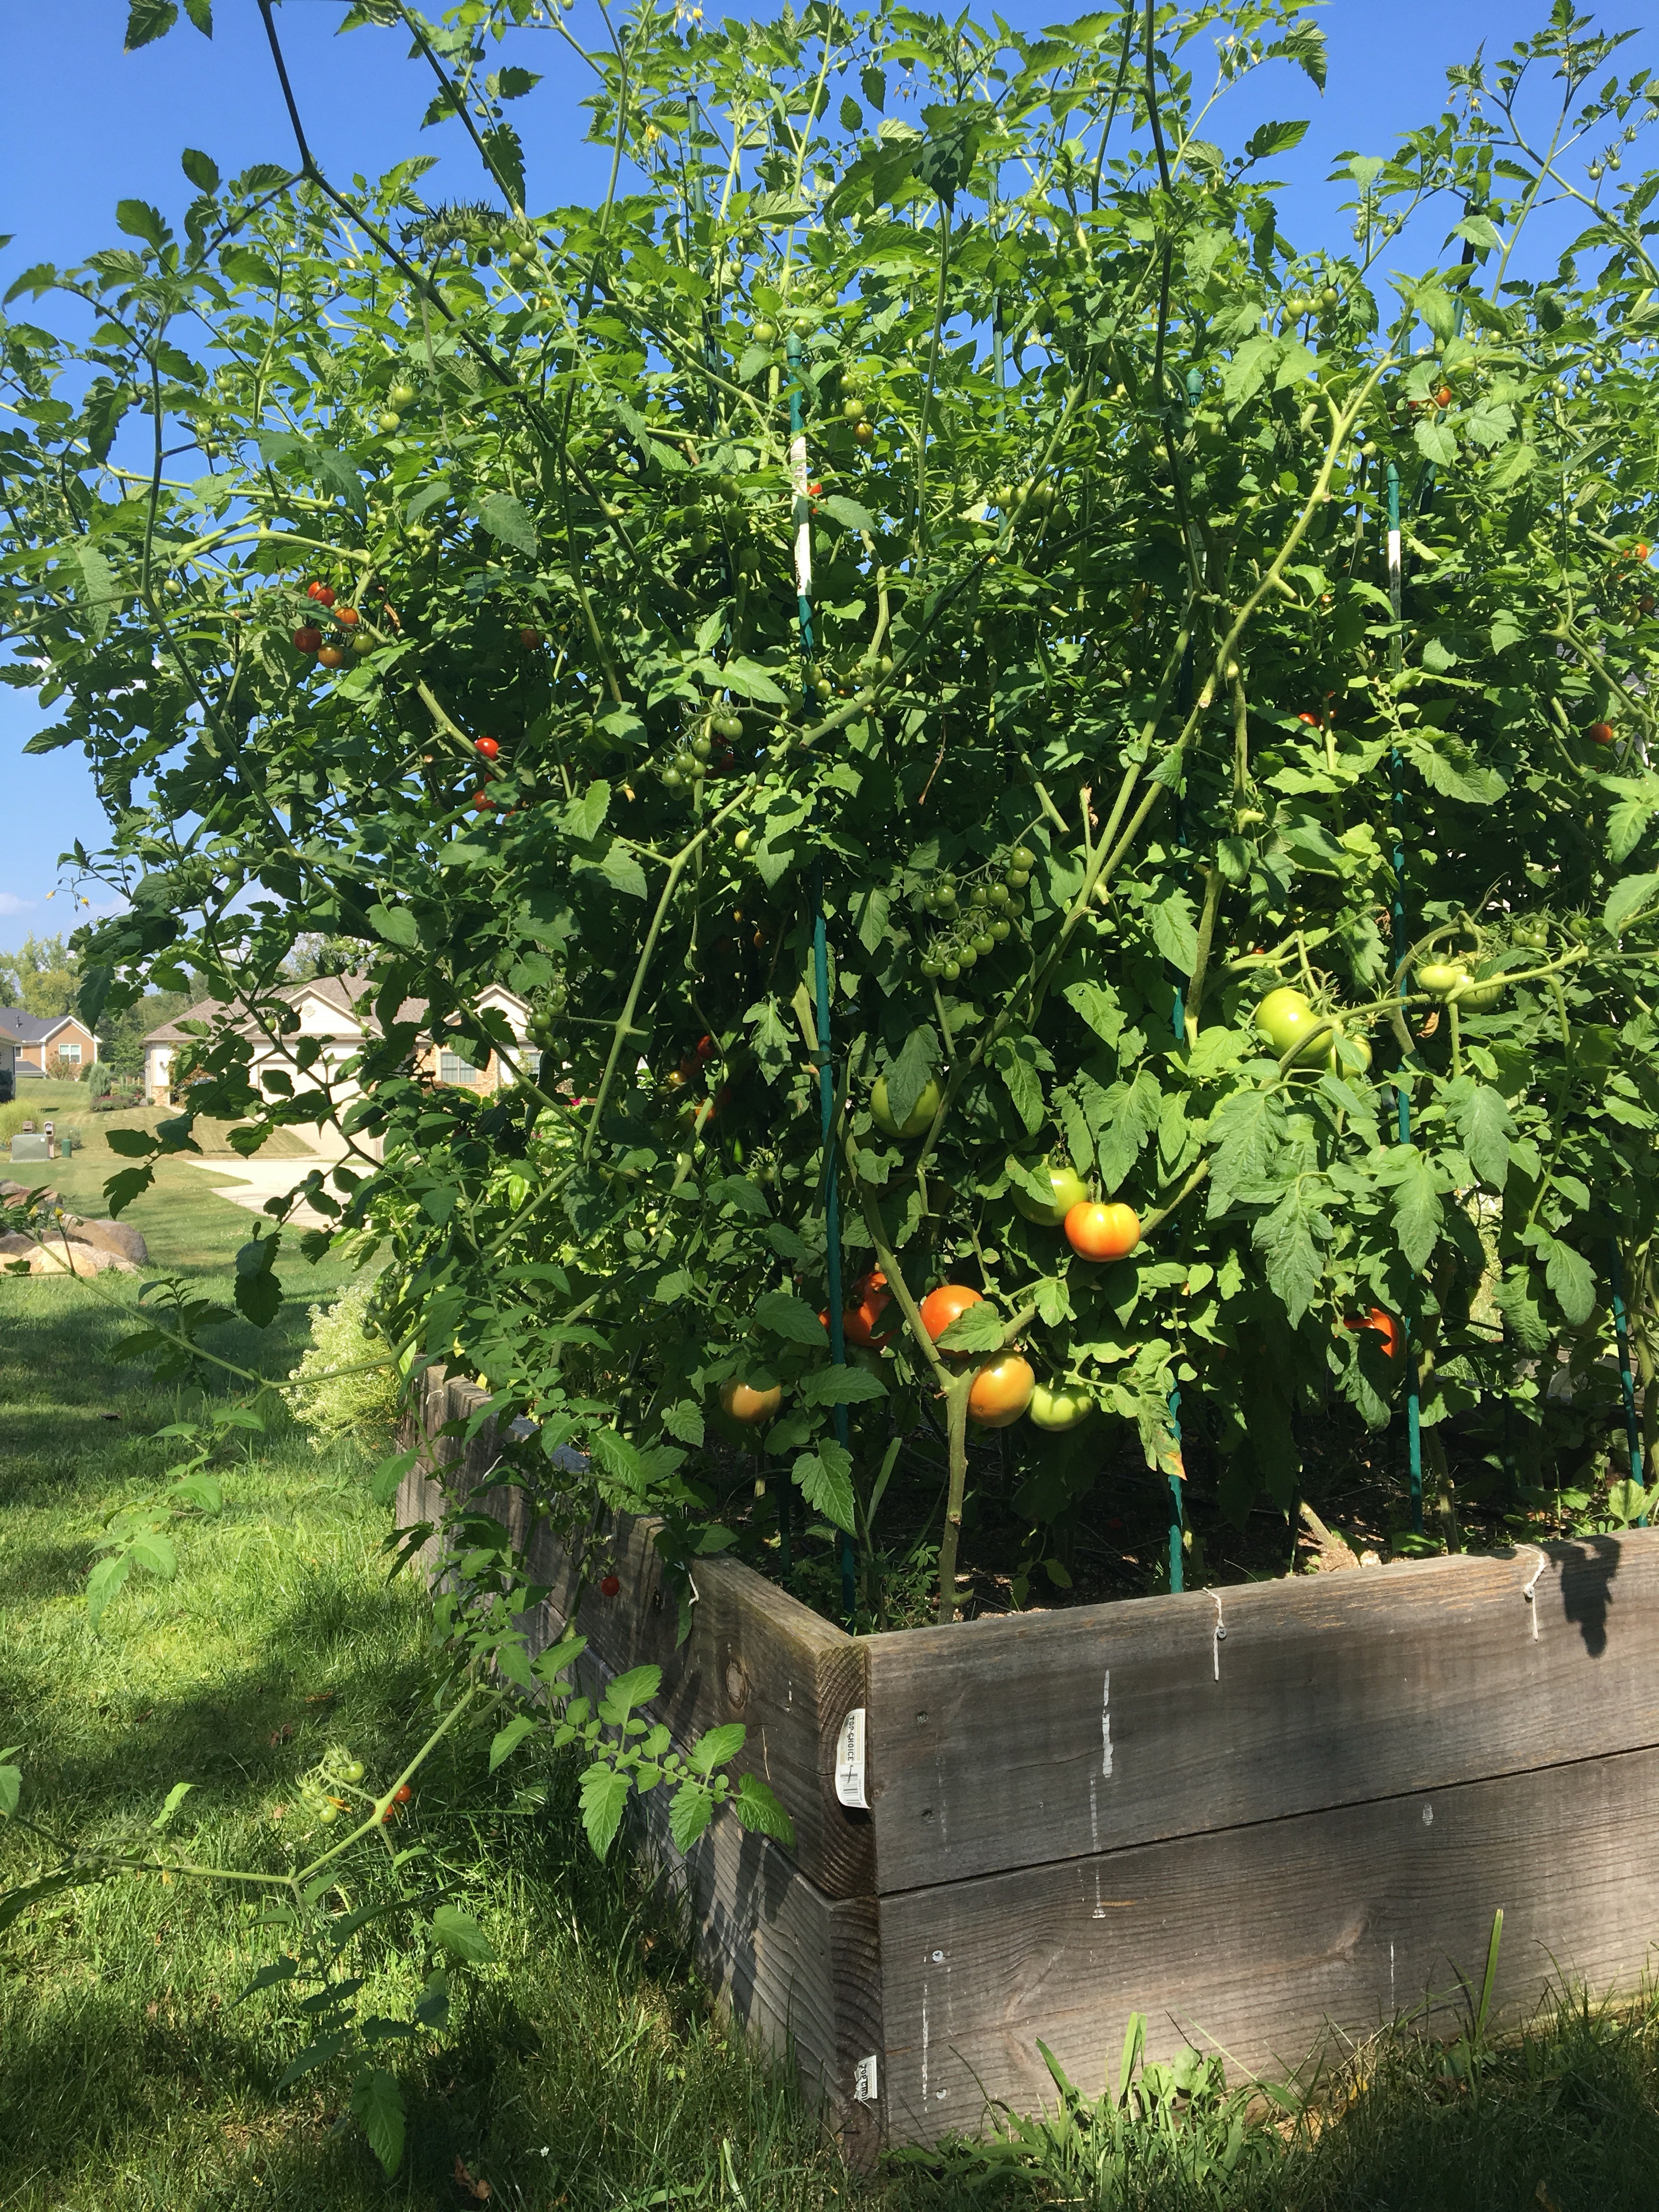
    5. Don’t plant anything outside before you should.

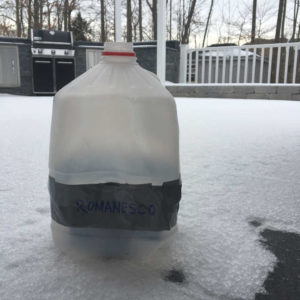
    You’ll be tempted. We all are. Warm season plants, like tomatoes and peppers, shouldn’t go outside until nighttime temperatures don’t go below 50 or 55 degrees. Cool season crops, like lettuce, kale, broccoli, cabbage, peas and spinach, can tolerate cooler nighttime temps, maybe around 40 degrees. If you do have a colder night, you can cover those plants with a bedsheet or milk jugs with the bottom cut off.

    The USDA Hardiness Zone map will tell you when your area gets its average last frost every spring and helps you figure out when it’s safe to plant warm season crops outside. According to the map, my area’s last frost date is May 1.

    While this map helps, you have to become a bit of an amateur meteorologist to get your transplant timing right. Around April 20, I start checking the 10-day forecast to see how cold the nights will be. If I get to May 1 and nighttime temperatures are looking good, I transplant. Otherwise, I have to wait.

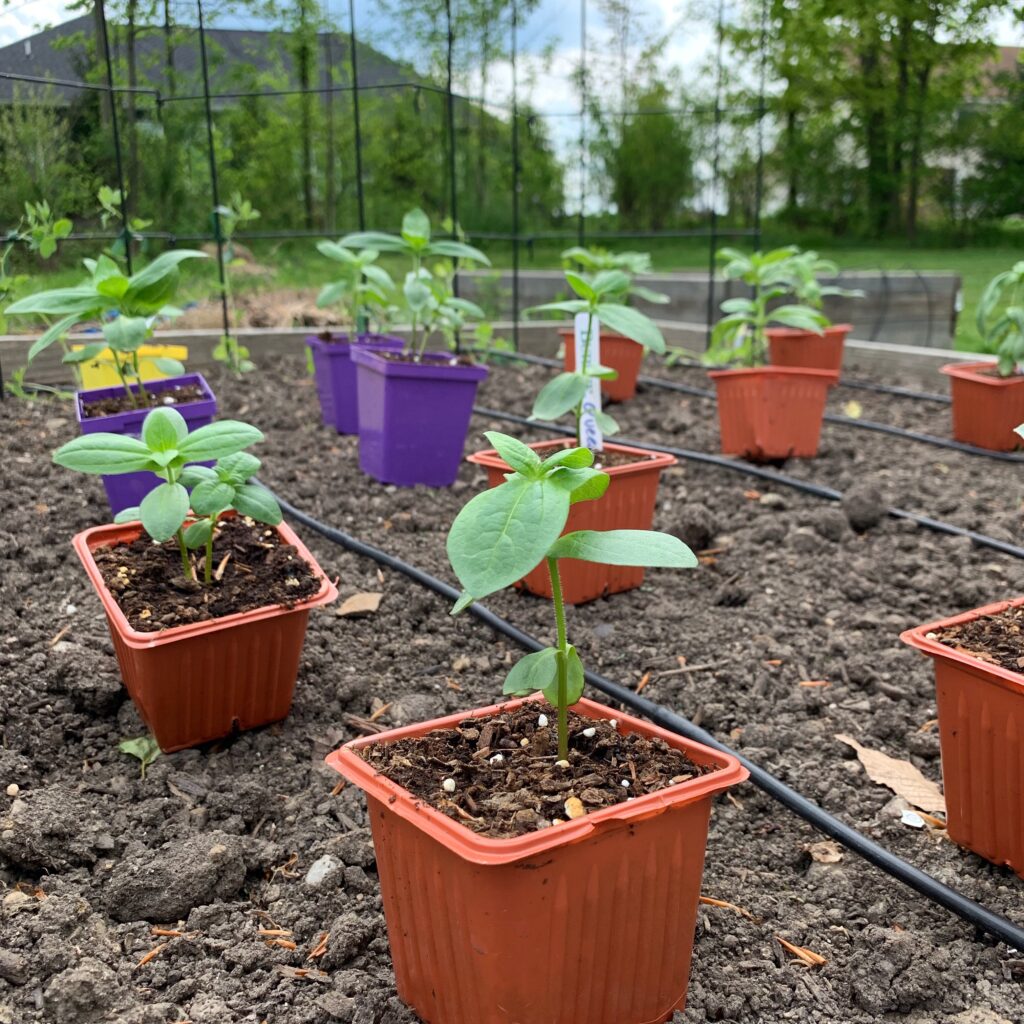
    6. Acclimate your seedlings.

    Before you can plant the seedlings you started growing inside in your garden, you have to get them used to the elements. This is called acclimating.

    About a week before you plan to transplant those plants outside, put them in a shady spot outside for about an hour. The next day, same thing but for two hours. The next day, add in some time in filtered sun. Keep adding time outside and more sun each day until you’re ready to transplant outside. And watch moisture — time in the sun means more watering will probably be needed.

    7. Connect with your local garden community online.

    Look for garden clubs and community gardens. Garden centers. Botanical gardens. Local gardeners have grown where you’re growing and know your climate best. They can tell you what plants are going to work and which aren’t. And they know even more tricks that they don’t mention in the gardening books. Ask questions.

    You can do this. Good luck and leave your questions in the comments or @howtonature on Instagram.

  • Why I’m Scaling Back On Vegetables To Grow A Cut Flower Garden

    Zinnia Purple Prince

    All last summer, I was raking in the compliments on how beautiful my vegetable garden was. Big zucchini leaves, tall cornstalks and a wall of tomato plants.

    And it did look good, but my vegetable production had problems. Not one full cob of corn. Three zucchini. One or two cucumbers. Powdery mildew. Japanese beetles. I clearly have some problems to work out with growing vegetables. While I already know some of the things I could do differently to improve production, I also feel I need to take a step back from veggies and regroup.

    So this summer, I’ll switch over half of my vegetable raised beds into a cut flower garden. I never hesitate to buy vegetables for my family to eat, but I (usually) restrain myself from the urge to buy a bouquet of grocery store flowers every week. Even though it’s a strong urge. This summer I’ll grow more of what gives me joy. Forget about rosé. Bouquet all day. Plus, pollinators!

    Introduction To Cut Flowers

    So I open the seed catalog to a whole new category of plants, most of which I’ve never grown before. Starting at square one again. My flower experience has been mostly with annual bedding plants — petunias, calibrachoas, verbena, geranium, coleus — ones that I bought as plants and didn’t start from seed myself.

    My guide in flower selection is Floret Farm’s Cut Flower Garden. The photography in the book is just extraordinary, but there’s also information on cut flowers by season. I want to grow everything, of course. Last year, I grew the zinnia ‘Purple Prince’ pictured here. It went pretty well, so I’m branching out to some new varieties this year.

    Here’s what I’ve ordered. I tried to keep it to a peach/salmon/white palette, but things got away from me a little bit.

    Spring:

    Sweet Pea ‘Bristol’ from Floret

    Snapdragon ‘Plum Blossom’ from Burpee

    Summer:

    Alyssum ‘Rosie O’Day’ from Botanical Interests

    Aster ‘Tower Chamois’ from Johnny’s Selected Seeds

    Cosmos ‘Lemonade’ from Burpee

    Cosmos ‘Dazzler’ from Cornucopia Seeds

    Dahlia from ‘Cornel Bronze’ from Floret

    Zinnia ‘Double Zahara Yellow’ from Burpee

    Zinnia ‘Benary’s Giant Salmon Rose’ from Floret

    Zinnia ‘Benary’s Giant White’ from Johnny’s Selected Seeds

    Fall:

    Ornamental Kale ‘Crane White’ from Johnny’s Selected Seeds

    Ornamental Kale ‘Crane Red’ from Johnny’s Selected Seeds

    Sunflower ‘Candy Mountain Hybrid’ from Burpee

    Sunflower ‘Skyscraper’ from Ferry-Morse

    Not A Goodbye To Vegetables

    I’ll dedicate an equal amount of my raised bed space to vegetables. Lettuce, then slicing tomatoes. One zucchini plant. A disease resistant one. Peppers. Pumpkins? Maybe carrots. No corn. No cucumbers. No broccoli. And potatoes in grow bags. Simplify. A lot less experimenting with veggies this year. More space for each plant and less competition for water, sun and nutrients.

    Do you have any advice for this new cut flower gardener? Please let me know in the comments below or on Twitter @howtonaturechat.

  • Does Square Foot Gardening Work For All Crops?

    Tomatoes in a raised bed planted with the square foot gardening method
    My tomatoes grew into a tangled mess when I planted them one per square foot.

    When I built raised beds and started my first vegetable garden last year, I was so stoked to have the guidance of the square foot gardening method. This plant spacing theory is that you can grow lots of food in a small square space, such as a raised bed, instead of long rows. And it prescribes how many plants you can grow in each square foot. So I created a grid of square foot sections in my beds using some twine and started planting by the square foot.

    Over the last two summers, some crops have thrived in this setup, namely lettuce, peppers, basil, sage and carrots. I’d even say cucumbers and baby pumpkins might be ok in a square foot garden. But there are several crops that just aren’t working for me in this configuration for the best possible reason: the plants are thriving and need more space.

    I had a whole post written about how square foot gardening doesn’t work with some bigger crops, but now I’m realizing that I, shockingly, got some bad information from the internet. There are online calculators that claim to be able to help you build your square foot garden design. The ones I used said that I could plant tomatoes, zucchini and pumpkins at a rate of one per square foot. This is incorrect according to Square Foot Gardening by Mel Bartholomew.

    But I also think there are some crops that just don’t work in the square foot configuration. Here’s what I found in my garden this summer.

    Big Plants That Need More Than One Square Foot

    Tomatoes. I planted eight slicing type tomato plants and four cherry tomato plants, one plant per square foot.

    I did a ton of pruning in those dense tomato branches and there was a ton that I missed because I just couldn’t reach some branches. I think it affected the production of the plants buried in the middle of that dense thicket.

    The fix. Bartholomew recommends planting slicing or beefsteak tomatoes at one per nine square feet. NINE! So these need much more room than I’ve been giving them. The cherry tomatoes are correctly planted at one per square foot, and boy did I reap a huge reward on that crop this year. More than 15 pounds of cherry tomatoes.

    Zucchini. I’ve had powdery mildew problems on zucchini for the last two summers. I wonder if planting them too close together prevented air from circulating through the leaves.

    I planted my zucchinis one per square foot in tomato cages to keep leaves up and off of the wet soil surface, to try to help with the powdery mildew problem. This didn’t seem to help. I still had to start spraying in early August and I only harvested three zucchini off two plants. Pretty much the same story as last year.

    I’m not sure if powdery mildew is an inevitability in a humid climate like ours or if the plant spacing could really make a difference.

    The fix. The actual recommendation for zucchini is one plant per two square feet. I’m debating whether or not to use the tomato cages again. They didn’t seem to do much for me this year. These plants were next to the rows of corn, which was also planted densely, restricting air movement and throwing shade onto the zucchini.

    Pumpkins. Can vining plants work well in a square foot garden? Do they need more room to spread out or can they work on a trellis? This year, I had mini pumpkins growing over an A-frame trellis, one plant per square foot.

    Production was low — three pumpkins on two plants. The plants were growing very well, but then got hit with powdery mildew mid to late in the season.

    The fix. The recommendation for pumpkins is one per two square feet, so mine needed more space, but it seemed the trellis gave them good air circulation.

    Three Crops That Are No Good For Square Foot Gardening

    While I may have gotten some bad information about square foot gardening on the above crops, there are three I don’t think work in a square foot garden: corn, potatoes and romanesco broccoli. Here’s what happened.

    Corn. Square foot gardening recommends four corn plants per square foot, but this is creating a very packed corn field. We produced ears this summer, but almost all of them showed zippering, or rows of missing kernels. The cause, from what I’m reading online, could be drastic temperature shifts, which we didn’t have, or a pollination problem.

    The tassels up at the tops of the stalks have to pollinate every silk that grows at the top of each ear. If the plants are packed too close together, I can see how some silks would get missed.

    The fix. I got some advice that while I can space plants about a foot apart in each row, the rows should be spaced much further apart. I don’t have this kind of room in my garden, so I think corn may be out for my 2018 garden.

    Potatoes. There’s no way potatoes should be planted in my square foot garden. The two square feet of potatoes that I planted grew into some monster plants. They took up probably four times as much space as I allotted for them.

    Also, I had a hard time mounding dirt up around the plants, which would have led to an even better harvest.

    The fix. The recommendation in Square Foot Gardening is four potatoes per square foot. While you can grow these plants that close together, mine were so enormous that they were shading all the crops in the square feet around them.

    I’ve seen separate bags for growing potatoes in, so I think I’ll get potatoes out of the raised beds altogether.

    Romanesco Broccoli. This year, my broccoli romanesco plants really took off. In a crazy way. Their enormous leaves shaded all the surrounding crops: lettuce, peppers, carrots and sage. This was especially frustrating because by mid-summer, no broccoli crowns or heads had even formed. I pulled the plants out in mid-summer.

    The fix. The book calls for one broccoli per square foot. I think this crop actually needs more like nine square feet or more of growing area. A whole raised bed just for romanesco. I’ve read that many people have trouble getting their romanesco to form heads. So although I’d love to see the golden ratio here in my garden, maybe no more romanesco in my garden. Sorry, romanesco.

    The idea of a square foot garden is great — plant a whole bunch of crops in a small space. I was able to grow nice leafy plants this way, but the vegetable production was terrible. I’m not sure if this was due to overcrowding or watering or fertilization problems, but next year I need to do things differently.

    I either need to cut back on the number of plants that I grow, possibly eliminating some crops, or I need more gardening space. I’m not totally throwing out the square foot method, but modifying it based on what I’ve tried. Stay tuned.

    If you’re interested in learning about square foot gardening, please don’t rely on the internet. Go back to the original: Square Foot Gardening by Mel Bartholomew.

    Do you swear by the square foot gardening method? Or have you had trouble with it? Leave a comment below or let me know on Twitter @howtonaturechat.

  • My Compost Isn’t Breaking Down: What Do I Do?

     My compost July 21 (left), on April 15 (top) and December 26 (bottom).
    My compost July 21 (left), on April 15 (top) and December 26 (bottom).
    What do you do when your compost isn’t breaking down? I’m still trying to figure out the mystery that’s going on in my composter. Can you help? 

    Last year, I decided one of my 2017 garden goals would be to get into composting. When I started asking for advice, I heard that I shouldn’t overthink it. I only needed to get a container, throw stuff in it and nature would take care of the rest. I’ve found it to be a bit more difficult than that. 

    In October, I bought my composter: an Envirocycle tumbler. I thought about going with an old trash can with holes drilled in it, but decided to go with the option that looked best and was designed to tumble.

    In went some fall perennial clippings. I also planned to continue adding food scraps through the fall to keep a balance of green/brown (also known as carbon/nitrogen). We added egg shells, vegetable peels and a whole lot of coffee grounds and started turning that tumbler.

    Keeping A Good Carbon/Nitrogen Ratio

    Somewhere during the winter, I realized that I probably hadn’t kept a good green/brown ratio. I thought those perennial clippings would be considered brown carbon at first, but more research made me think it might actually represent green nitrogen. Those stalks weren’t breaking down much at all, so midway through the winter, I went at them with a pair of pruners to help speed things along. 

    Through the winter, I added a whole lot of table scraps. I tossed in a bit of dried leaves and newspaper when I could, but that’s a challenge when there’s snow on the ground and you don’t get the newspaper anymore. Of course, eventually the whole thing froze.

    Compost That Doesn’t Break Down

    Our first truly springlike day was April 9. When I checked inside the tumbler, it was actually starting to look like compost. As the temperatures heated up, we started turning the tumbler again, but the compost just wasn’t breaking down much more. 

    By mid-July, there were still big clumps in my composter and seeds were sprouting in there. I bought Espoma’s compost starter and added it in. For the first time, it was also looking dry, so I added some water. So nine months later, I’m still on my first batch of compost. 

    I have a lot of beds to build and soil to amend, so I’d be happy to be making a lot more compost than this. Honestly, I’d be happy to just finish this first batch so I can get it out of my composter, start over and do a better job. 

    So here’s what I think could have gone wrong: 

    • Not enough brown carbon
    • Not enough microbes
    • Too dry
    • Too wet
    • Not mixed well enough

    Thoughts? What should I do with this clump of half-cooked humus? And how can I do it better and quicker next time? 

  • Pruning, Pinching And Thinning: My Garden’s New Best Friends

    Pruning, pinching and thinning.

    Some gardeners consider these three of their least favorite words. Why does the thought of cutting a plant scare us so much, especially when all the experts say that what we’re supposed to do? 

    For me, it used to feel wrong to cut what you’ve coaxed to grow. It felt cruel and wasteful. I had trouble getting past the feeling that these plants are my fragile babies and a sharp pair of pruners is something I need to protect them from.

    Totally wrong. 

    Often as a gardener, I’ve looked at a sad looking flower or a stalled out vegetable plant flummoxed about what I can do to improve it. The answer is often that I should have pruned, pinched or thinned. 

    We always want more plants and vegetables. With gardening, it’s often true that less will equal more in the end. We need to cut to grow. Here are some examples where I’ve learned this first hand.

    Overgrown basil. I’ve overseed basil and just couldn’t bring myself to thin out the seedlings. Here’s how it goes: I sow too many seeds and try to will them all into thriving, but the whole pot turns into a leggy mess. The seedlings fight each other for water and light and I end up with no pesto. 

    Just do what it says on the seed packet. If you’re using peat pots or cells, thin to one seedling per cell when they have two sets of true leaves. My packet of seeds says one seedling per 12 inches. That means one healthy seedling is good enough for most containers. One healthy basil plant is better than none. 

    When I somewhat miraculously grew a plant, I didn’t want to pinch it. So it grew taller and taller until it just flopped over. Pinch the top leaves off a basil plant after two sets of true leaves. And that takes me into the same issue with zinnias.

    Leggy zinnias. Zinnias will grow and bloom just fine, even if you don’t prune or pinch them. When you don’t prune, however, each plant grows into very tall stems with only a few flowers.

    Zinnias unpinched (left) and pinched (right)
    Zinnias unpinched (left) and pinched (right)

    This is because of the principle of apical dominance, which I learned about from Proven Winners during a Twitter chat. Wikipedia’s description is a little technical, but it means that in some plants, hormones direct it to grow up through a tall main stem. When you pinch at the top of that stem, you stop that drive to grow up and instead spur the plant to grow out, through other secondary buds and then branches. 

    When I learned this, it pretty much changed everything for me. Now I’ve pinched back all of my zinnias after their third set of true leaves and they’re already stout and bushy. Take a look at the side-by-side comparison with last year’s zinnias.

    Strawberries and tomatoes: Pinching to direct energy. I read a suggestion online that gardeners should pinch all blossoms off first year strawberry plants in order to direct energy into making the plant’s root system stronger. Makes total sense but I’m not sure that I have the willpower to skip out on fresh strawberries all season. I pinched off the first few flushes of flowers, but I’m now not-so-patiently awaiting a harvest. 

    The idea of directing energy by pruning is the same with tomatoes. Pruning suckers out of tomato plant armpits directs energy into the already established stems or developing fruits. This also prevents your plant from growing into a tangle of branches, which can restrict airflow around the plant and lead to disease. 

    Too tall jade plant. I’ve grown jade plants till they were spindly and tall, while really hoping to have cool-looking branching plants. This is one where I was definitely scared to prune. They seemed to grow so slowly. And what if I cut too much? 

    After I read enough articles online, my top-heavy plants tipped over for the last time. I built up the courage to pull out my pruners and cut. And, thanks again to apical dominance, two new little plant shoots came out of each cut. 

    Increase zucchini and pumpkin production. This is my latest learning: prune zucchini and pumpkin…at some point. My zucchini production last year was ok, but there’s room for improvement and I think pruning could help. 

    I looked around the internet a little about when and where to prune. I’m still a little unclear on the right technique, but I’ll keep researching. If you have any thoughts, please let me know. 

    So I’m ruthless in the garden now. I cut. I trust the wisdom of the generations of gardeners before me. When they tell me to cut, I cut. And it’s working so far. 

  • How Has This Romanesco Broccoli Not Bolted? 

    I’ve been on a quest to grow Romanesco broccoli for the last two summers and it hasn’t quite worked out. I haven’t been able to find a good growing window for this cool-season crop. At least I thought it was a cool-season crop. 

    Romanesco broccoli
    Last week we had multiple days of 90 degree weather, but this plant just keeps getting bigger and bigger. No broccoli, no flowers, but an enormous plant. Is it possible that it hasn’t bolted yet, even in this heat? 

    If it has bolted, I want to get it out of the garden, as it’s starting to shade some of my other crops. What do you think? Keep it or pull it up? 

    Romanesco broccoli

  • Drip Irrigation: It’s Not As Scary As It Sounds

    Drip Irrigation on potato plantI just put together my first drip irrigation system in my raised bed garden and it was a great experience. I recommend it to gardeners out there who are looking to improve their outdoor gardening game, especially if you think your garden could benefit from a more regular and consistent watering pattern.

    I had been using a sprinkler to water my garden, but that was creating some mildew and disease problems on some of my vegetable crops. It also wasted a lot of water, so I needed to water in a different way. So drip irrigation became one of my garden goals for 2017.

    I purchased my kit from Dripworks, on the recommendation of the Seattle Urban Farm Company. There are some great instructional videos on how to set up the kit on the Dripworks YouTube channel. Kudos for that.

    I bought the Dripworks small garden bed kit, which was plenty for my two 4’x8′ raised beds. It cost $59.95.

    Drip irrigation sounds like next level stuff for serious gardeners. A little intimidating. But I really don’t want to work so hard starting seeds to only lose them all because I didn’t water properly. So I guess I’m a serious gardener now. 

    The main components of the kit are a main line, some mini tubing and the emitter drip tube. I now know quite well what these are, but had no idea when I ordered the kit. They said it was everything I needed for raised beds sized like mine, so I went for it.

    The Setup Process

    The kit arrived with clear instructions and each component was clearly marked. The two things I needed in addition to the kit were a regular garden hose (because my spigot is far from my raised beds) and something to cut the tubing (I used pruners).

    Another component that’s required in my garden is a timer, so no matter what, everything gets watered. I have this Orbit hose timer and I love it.

    I attached the included filter and pressure adapter from the kit to the spigot, attached the hose and stretched it out to the beds.


    The main line is the water source and runs along the ground at the heads of my two beds. The mini tubing runs from this main line up from the ground to the soil line of each bed, one for each bed row. 

    You punch holes in the main line wherever you want a drip line in your beds. The kit comes with the tool you need to punch those holes. From there, the mini tubing connects to the drip line.

    Soaker Versus Drip

    Here’s the difference between a soaker line and these drip lines with emitters. Soaker lines seep water out along their whole lengths. I’ve used them before, but I wasn’t very successful with them. The watering isn’t targeted at all and it felt like you had to keep the water running for a very long time to get a good soak.

    The drip line that came with my kit features emitters, basically a hole in the hose, every foot. You plant your plants at the emitters and you’re watering only your target: your plant’s roots.

    Of course, this spacing is drop dead perfect for a square foot garden, which I have!

    My Only Difficulty: Dainty Hands

    The most difficult part of setting up the system was the connectors between the different tubes. Of course, these joints need to be water tight, so the connectors fit very snugly between the tubes. My fingertips were pretty sore from forcing the connections into place.

    I turned the water on at the spigot and there wasn’t one drip or leak where there shouldn’t have been and each emitter was working perfectly. Total success!

    Now I need to figure out how long to leave the water running every day. Have any thoughts or advice on this? Let me know in the comments or on Twitter @howtonaturechat.

  • How I Grew Tomatoes On My Kitchen Counter: The Miracle-Gro AeroGarden

    Kitchen counter gardens are hot right now. They let you grow herbs, flowers and even some veggies with hydroponics and there are many brands and models out there. So what’s it like to use one?

    I received a Miracle-Gro AeroGarden as a gift for Christmas. The AeroGarden is a hydroponic growing system, meaning that it grows in water instead of soil or growing medium. And it includes an LED light hood to provide all the light that plants need. I’d never used this type of system before, so I was excited to give it a shot.

    The AeroGarden comes in many different models, with three, six, seven and nine-pod designs. Pre-seeded pods are available for growing herbs and flowers, but also tomatoes and peppers.

    I picked up two fresh cherry tomato pods, dropped them in two of the slots of my six-pod model, filled up the tank with water, added liquid fertilizer and we were in business. Here’s how it went.

    Fresh tomatoes, dead of winter. Having something green growing in the house during the winter was amazing. And having the scent of tomato leaves to sniff on was fantastic.

    I had the first ripe tomato in 80 days. Decent taste. Now I’m waiting for the other more than 50 fruits on the plants to ripen. In April. In Ohio. I hope you like bruschetta!

    Great instructions. I’m big on reading instructions that come with products and the ones that come with the AeroGarden are pretty awesome. Of course, there are step-by-step instructions to get the garden planted up, but there’s also advice for the growing process.

    For example, there’s information on when and how to thin and prune (including illustrations!) and how to help pollination along.  There’s even a product designed to help with pollination called the Be The Bee Pollinator.

    Watering and fertilizing alerts. Lights on the AeroGarden remind me when it’s time to water and fertilize. If you have one of the WiFi models, the unit will send an alert to your smartphone when your plants need watering or fertilizing. I wish all my plants would do this.


    My AeroGarden on day 81. Getting ripe.
    My AeroGarden on day 81. Getting ripe.

    Missing variety information. I’m wondering what variety of tomatoes are preloaded in these cone-shaped cartridges. For other types of herbs or flowers, it might not be such a big deal, but I want to know if these are determinate or indeterminate tomatoes. There’s no mention in the instructions on how to know when plants are done producing.

    There is the option to choose your own seeds to plant with the Grow Anything pod kits. You buy empty pods and grow any seed you like.

    Built-in staking. One of my tomato plants toppled over before any tomatoes fully ripened. It didn’t snap off or break, so I was able to stake it to the post holding up the LED hood. Nice.

    Bright lighting. One thing I hadn’t considered was the LED lighting included in the hood above the garden. It’s bright! I originally thought I would have to move it to somewhere other than my kitchen counter, but we adjusted to the brightness pretty quickly.

    For a beginner gardener, the AeroGarden is a great learning experience. I learned a lot up-close about the lifecycle of these tomatoes, including how much light and water they really need and how important pollination is. If you follow the instructions and the unit is operating properly, you can’t go wrong. People have been amazed to see tomatoes growing inside and on such a small footprint. It makes me look like a gardening wizard.

    People have been amazed to see tomatoes growing inside and on such a small footprint. It makes me look like a gardening wizard.

    When these tomatoes are done, I’ll be growing some herbs: basil, parsley, cilantro, mint and dill. Can’t wait.

  • The Milk Jug Greenhouse: Does It Work?

    milkjug greenhouse with romanesco
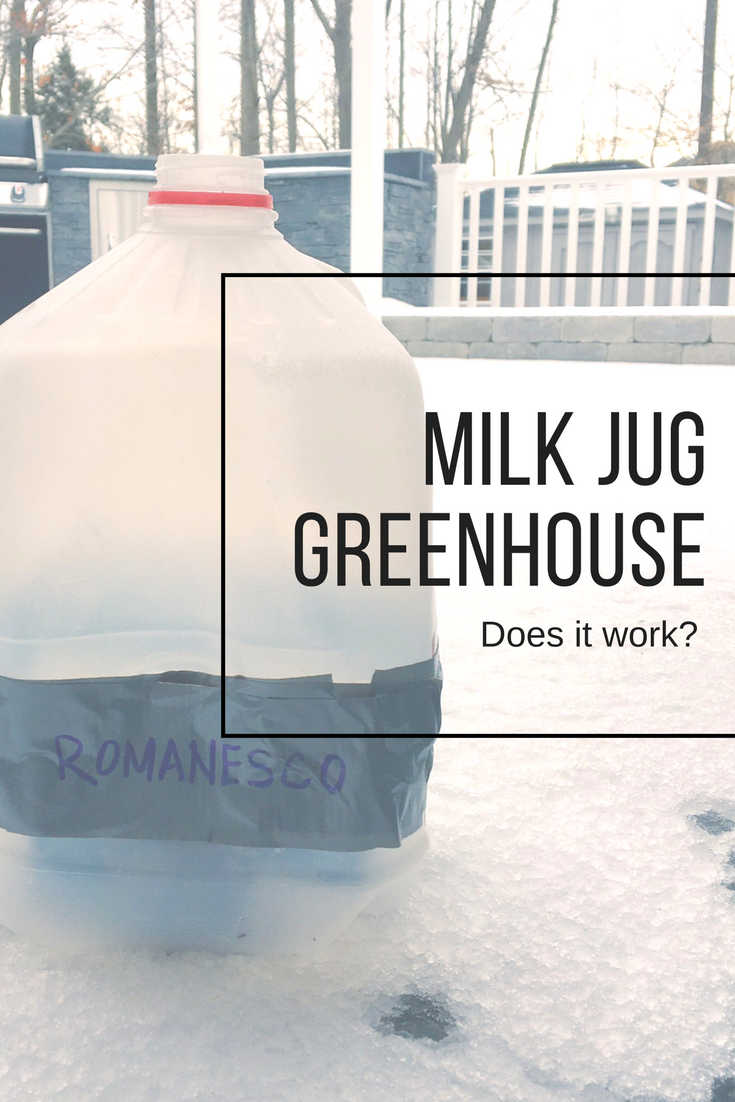
I’ve seen several articles online this winter about the milk jug greenhouse — starting seeds in a milk jug outside before your last frost date for some winter seed starting. It all sounds so easy!

    The idea is that you can start seeds in these heat-holding greenhouse stand-ins outside, getting your garden going while it’s still winter. The uncapped milk jug offers ventilation and built-up snow around the milk jugs act as insulation to keep the seedlings warm.

    But does this work? Will the seeds germinate? And will the seedlings survive? It just didn’t seem to make sense. It gets pretty cold here and many seeds need temperatures in the 70s to germinate. I gave it a shot and here’s what I found.

    My Milk Jug Greenhouse Experiment

    To try it out, I cut a milk jug in half, placed four seed starting pellets planted with romanesco inside and taped it up with duct tape on February 11. I’m in USDA Zone 6a, so it was about three months before our last frost date. Romanesco is a cool-season crop. Should work, shouldn’t it?

    I put the jug in a spot that gets some nice afternoon sun, but it was still quite weak in February and March. Just after I put the jug outside, we had a few pretty warm days. The seeds germinated! It was working!

    Then the temperatures dropped quite low and we had no snow pack. During a bad cold snap, I brought the jug inside at night. We had a violent windstorm one night, and the jug was blown over.

    milkjug greenhouse interior
    A peek inside the milk jug after a month. It wasn’t looking so good.

    A little more than a month later, I brought the jug inside to open it and see how the experiment was going. Those seedlings were crisp. I actually couldn’t tell if they burned or froze, but probably froze.

    Winter Seed Starting Takeaways

    It was just too difficult to see what was going on in the seed environment inside the jugs, since they were duct taped closed. Too dry? Too wet? I couldn’t tell. According to the internet, it looks like the minimum outdoor growing temperature for romanesco is around 40 to 45 degrees. I’m sure temps dropped below that in the milk jug.

    If there had been a snow pack around the jugs, it might have helped. I wonder if using three or four inches of seed starting mix instead of the seed starting pellets would have offered a few more inches of insulation, too. Maybe a different crop would have worked better.

    So the milk jug greenhouse method didn’t work for me this time. I probably won’t try this method again. It seemed a little too good to be true. I’ll stick with traditional seed starting methods.

    Have you successfully tried the milk jug greenhouse? Let me know in the comments or on Twitter @howtonaturechat.

    Milk Jug Greenhouse Does It Work

  • How To Garden If You’ve Never Grown Anything Before

    Freckles romaine lettuce Botanical Interests garden
    It’s gorgeous and it’s delicious. ‘Freckles’ romaine lettuce.

    I saw the following question on Quora: “I am an absolute beginner in gardening — where do I start?” Becoming a gardening expert might not be in the cards for everyone, but knowing your way around a garden can relieve stress and keep you connected to nature. But how?

    Just do it! Everyone knows the very basics of how to garden: plant a seed, bulb or a plant in some dirt and take care of it. It’s the details that can trip us up. With all the variables (sun, water, air movement) in any growing environment, I think the best thing is to pick a project, get started and do research a little bit at a time along the way. There will be Googling and that’s ok.

    One important note on all projects: Get good dirt. If the dirt where you live isn’t good for growing the flower or vegetable you choose, it’s gonna be a tough road. Start out with a potting mix in a flower pot or container, one that includes drainage holes. Later on, you can learn about how to make the dirt outside in your garden beds better for growing in.

    Here are some projects that I think are really good for beginners, along with some details on each.

    Direct sow, if you want to start seeds.

    To direct sow is to put seeds right in the soil you plan to grow them in, instead of starting them in small pots indoors and then moving them to bigger pots outside.

    Zinnia Purple Prince garden
    Zinnia ‘Purple Prince’ is very easy to grow.

    Some of the seeds that work best as direct sow are sunflowers, zinnia and lettuce. You don’t have to start them indoors and therefore you don’t have to worry about them getting enough light. Follow the instructions on the seed packet and put your container in the sunniest outside spot you have. Even if you don’t water them every day, check on them every day.

    When should you plant them? For the sunflower and zinnia, wait until your last frost date has passed. What’s that? Basically, when the coast is clear for cold that could kill your tender plants. Here’s a handy map of last (and first) frost dates from Bonnie Plants. For the lettuce, plant those seeds three weeks before your last frost date.

    If you don’t want to start with seeds, you can also look for zinnia, sunflower and lettuce plants at your local garden center.

    Try some houseplants.

    I live in Ohio, which is pretty much known for being overcast, but I’ve had a lot of success with jade and ZZ plants (Zamioculcas zamiifolia). I don’t have either in direct sun, but they’re doing well and they look great. I’ve been watering the ZZ plant every week and the jade every other week.

    Other good houseplants to try are sanseveria, schefflera, pothos, philodendron and rubber tree.

    Countertop garden.

    The hip new garden product out there is the countertop garden. These modules offer varying degrees of automating care for your garden. Most help with keeping plants watered and many include lighting and hydroponic (no soil, just water) growing. Best case scenario: They take almost all the burden off the gardener to remember to care for the plants. Can you beat that?

    These gardens also have a secret mission: while it seems that you set them and forget them, they can also teach a beginner gardener the needs of a plant’s lifecycle. By watching a smart garden operate, you learn how often they need to be fed, how much light they need and how much time to produce a fruit or flower. Once you see this cycle, trying to grow a plant on your own with less technological help seems not so scary.

    A few examples, the Smart Garden from Click and Grow, the AeroGarden from MiracleGro, Modern Sprout and KRYDDA/VÄXER from IKEA.

    What was your first garden project? Was it a success? Do you recommend a project to beginner gardeners? Let me know in the comments on Twitter @howtonaturechat.