Category: tools and supplies

  • My Compost Isn’t Breaking Down: What Do I Do?

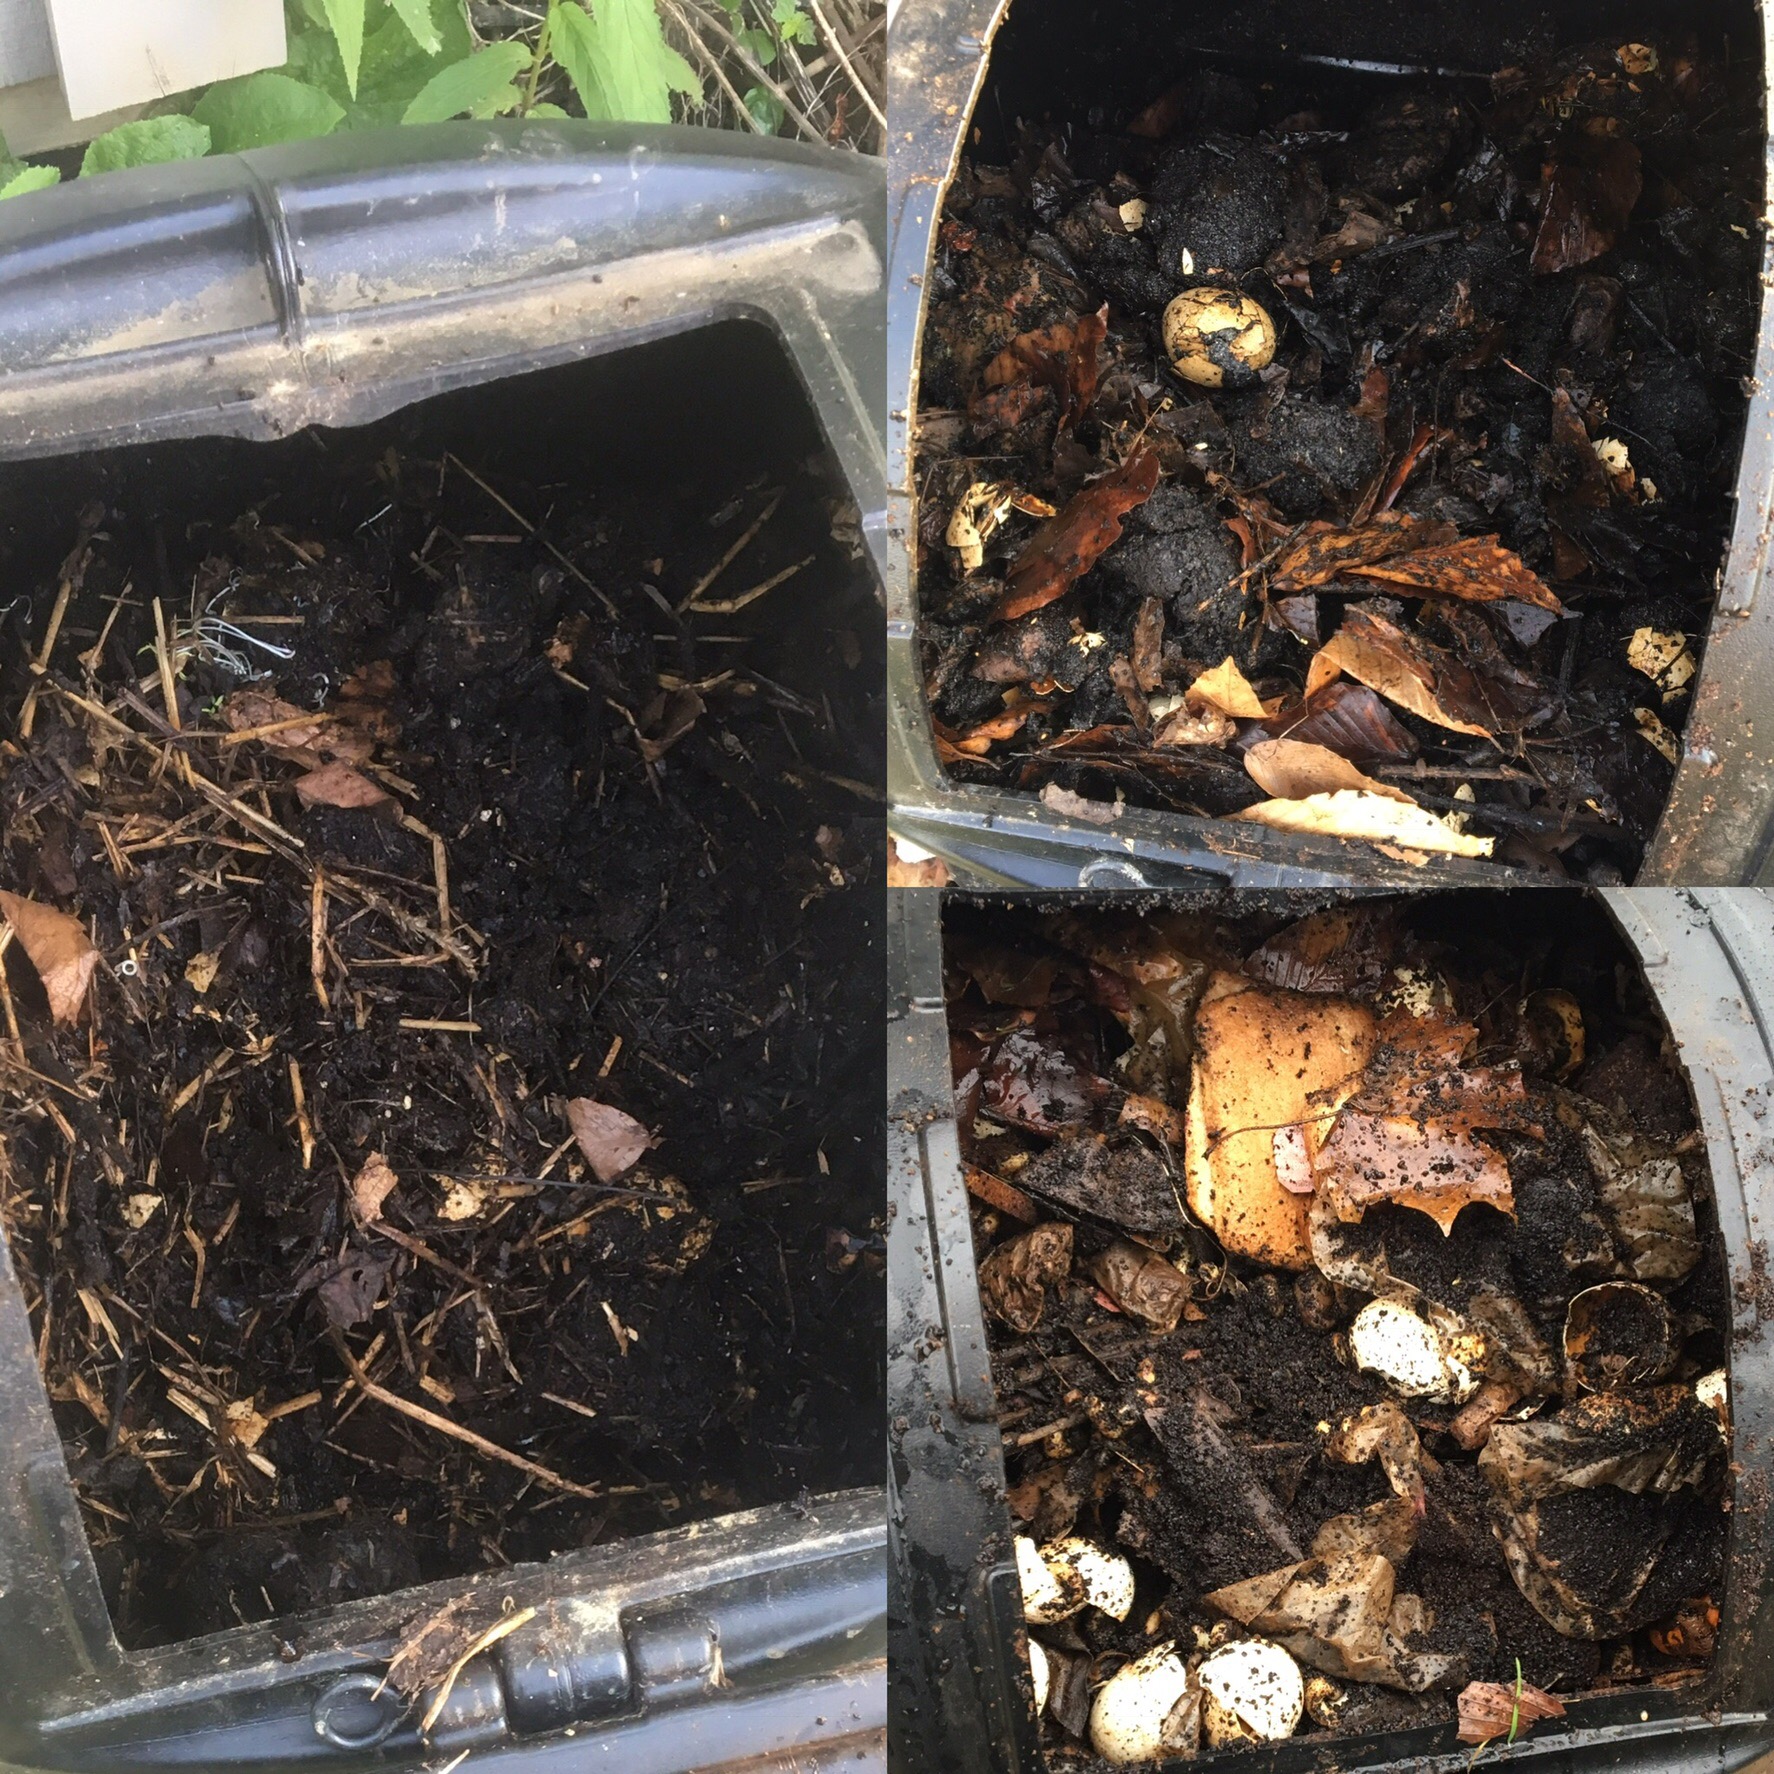
     My compost July 21 (left), on April 15 (top) and December 26 (bottom).
    My compost July 21 (left), on April 15 (top) and December 26 (bottom).
    What do you do when your compost isn’t breaking down? I’m still trying to figure out the mystery that’s going on in my composter. Can you help? 

    Last year, I decided one of my 2017 garden goals would be to get into composting. When I started asking for advice, I heard that I shouldn’t overthink it. I only needed to get a container, throw stuff in it and nature would take care of the rest. I’ve found it to be a bit more difficult than that. 

    In October, I bought my composter: an Envirocycle tumbler. I thought about going with an old trash can with holes drilled in it, but decided to go with the option that looked best and was designed to tumble.

    In went some fall perennial clippings. I also planned to continue adding food scraps through the fall to keep a balance of green/brown (also known as carbon/nitrogen). We added egg shells, vegetable peels and a whole lot of coffee grounds and started turning that tumbler.

    Keeping A Good Carbon/Nitrogen Ratio

    Somewhere during the winter, I realized that I probably hadn’t kept a good green/brown ratio. I thought those perennial clippings would be considered brown carbon at first, but more research made me think it might actually represent green nitrogen. Those stalks weren’t breaking down much at all, so midway through the winter, I went at them with a pair of pruners to help speed things along. 

    Through the winter, I added a whole lot of table scraps. I tossed in a bit of dried leaves and newspaper when I could, but that’s a challenge when there’s snow on the ground and you don’t get the newspaper anymore. Of course, eventually the whole thing froze.

    Compost That Doesn’t Break Down

    Our first truly springlike day was April 9. When I checked inside the tumbler, it was actually starting to look like compost. As the temperatures heated up, we started turning the tumbler again, but the compost just wasn’t breaking down much more. 

    By mid-July, there were still big clumps in my composter and seeds were sprouting in there. I bought Espoma’s compost starter and added it in. For the first time, it was also looking dry, so I added some water. So nine months later, I’m still on my first batch of compost. 

    I have a lot of beds to build and soil to amend, so I’d be happy to be making a lot more compost than this. Honestly, I’d be happy to just finish this first batch so I can get it out of my composter, start over and do a better job. 

    So here’s what I think could have gone wrong: 

    • Not enough brown carbon
    • Not enough microbes
    • Too dry
    • Too wet
    • Not mixed well enough

    Thoughts? What should I do with this clump of half-cooked humus? And how can I do it better and quicker next time? 
  • Drip Irrigation: It’s Not As Scary As It Sounds

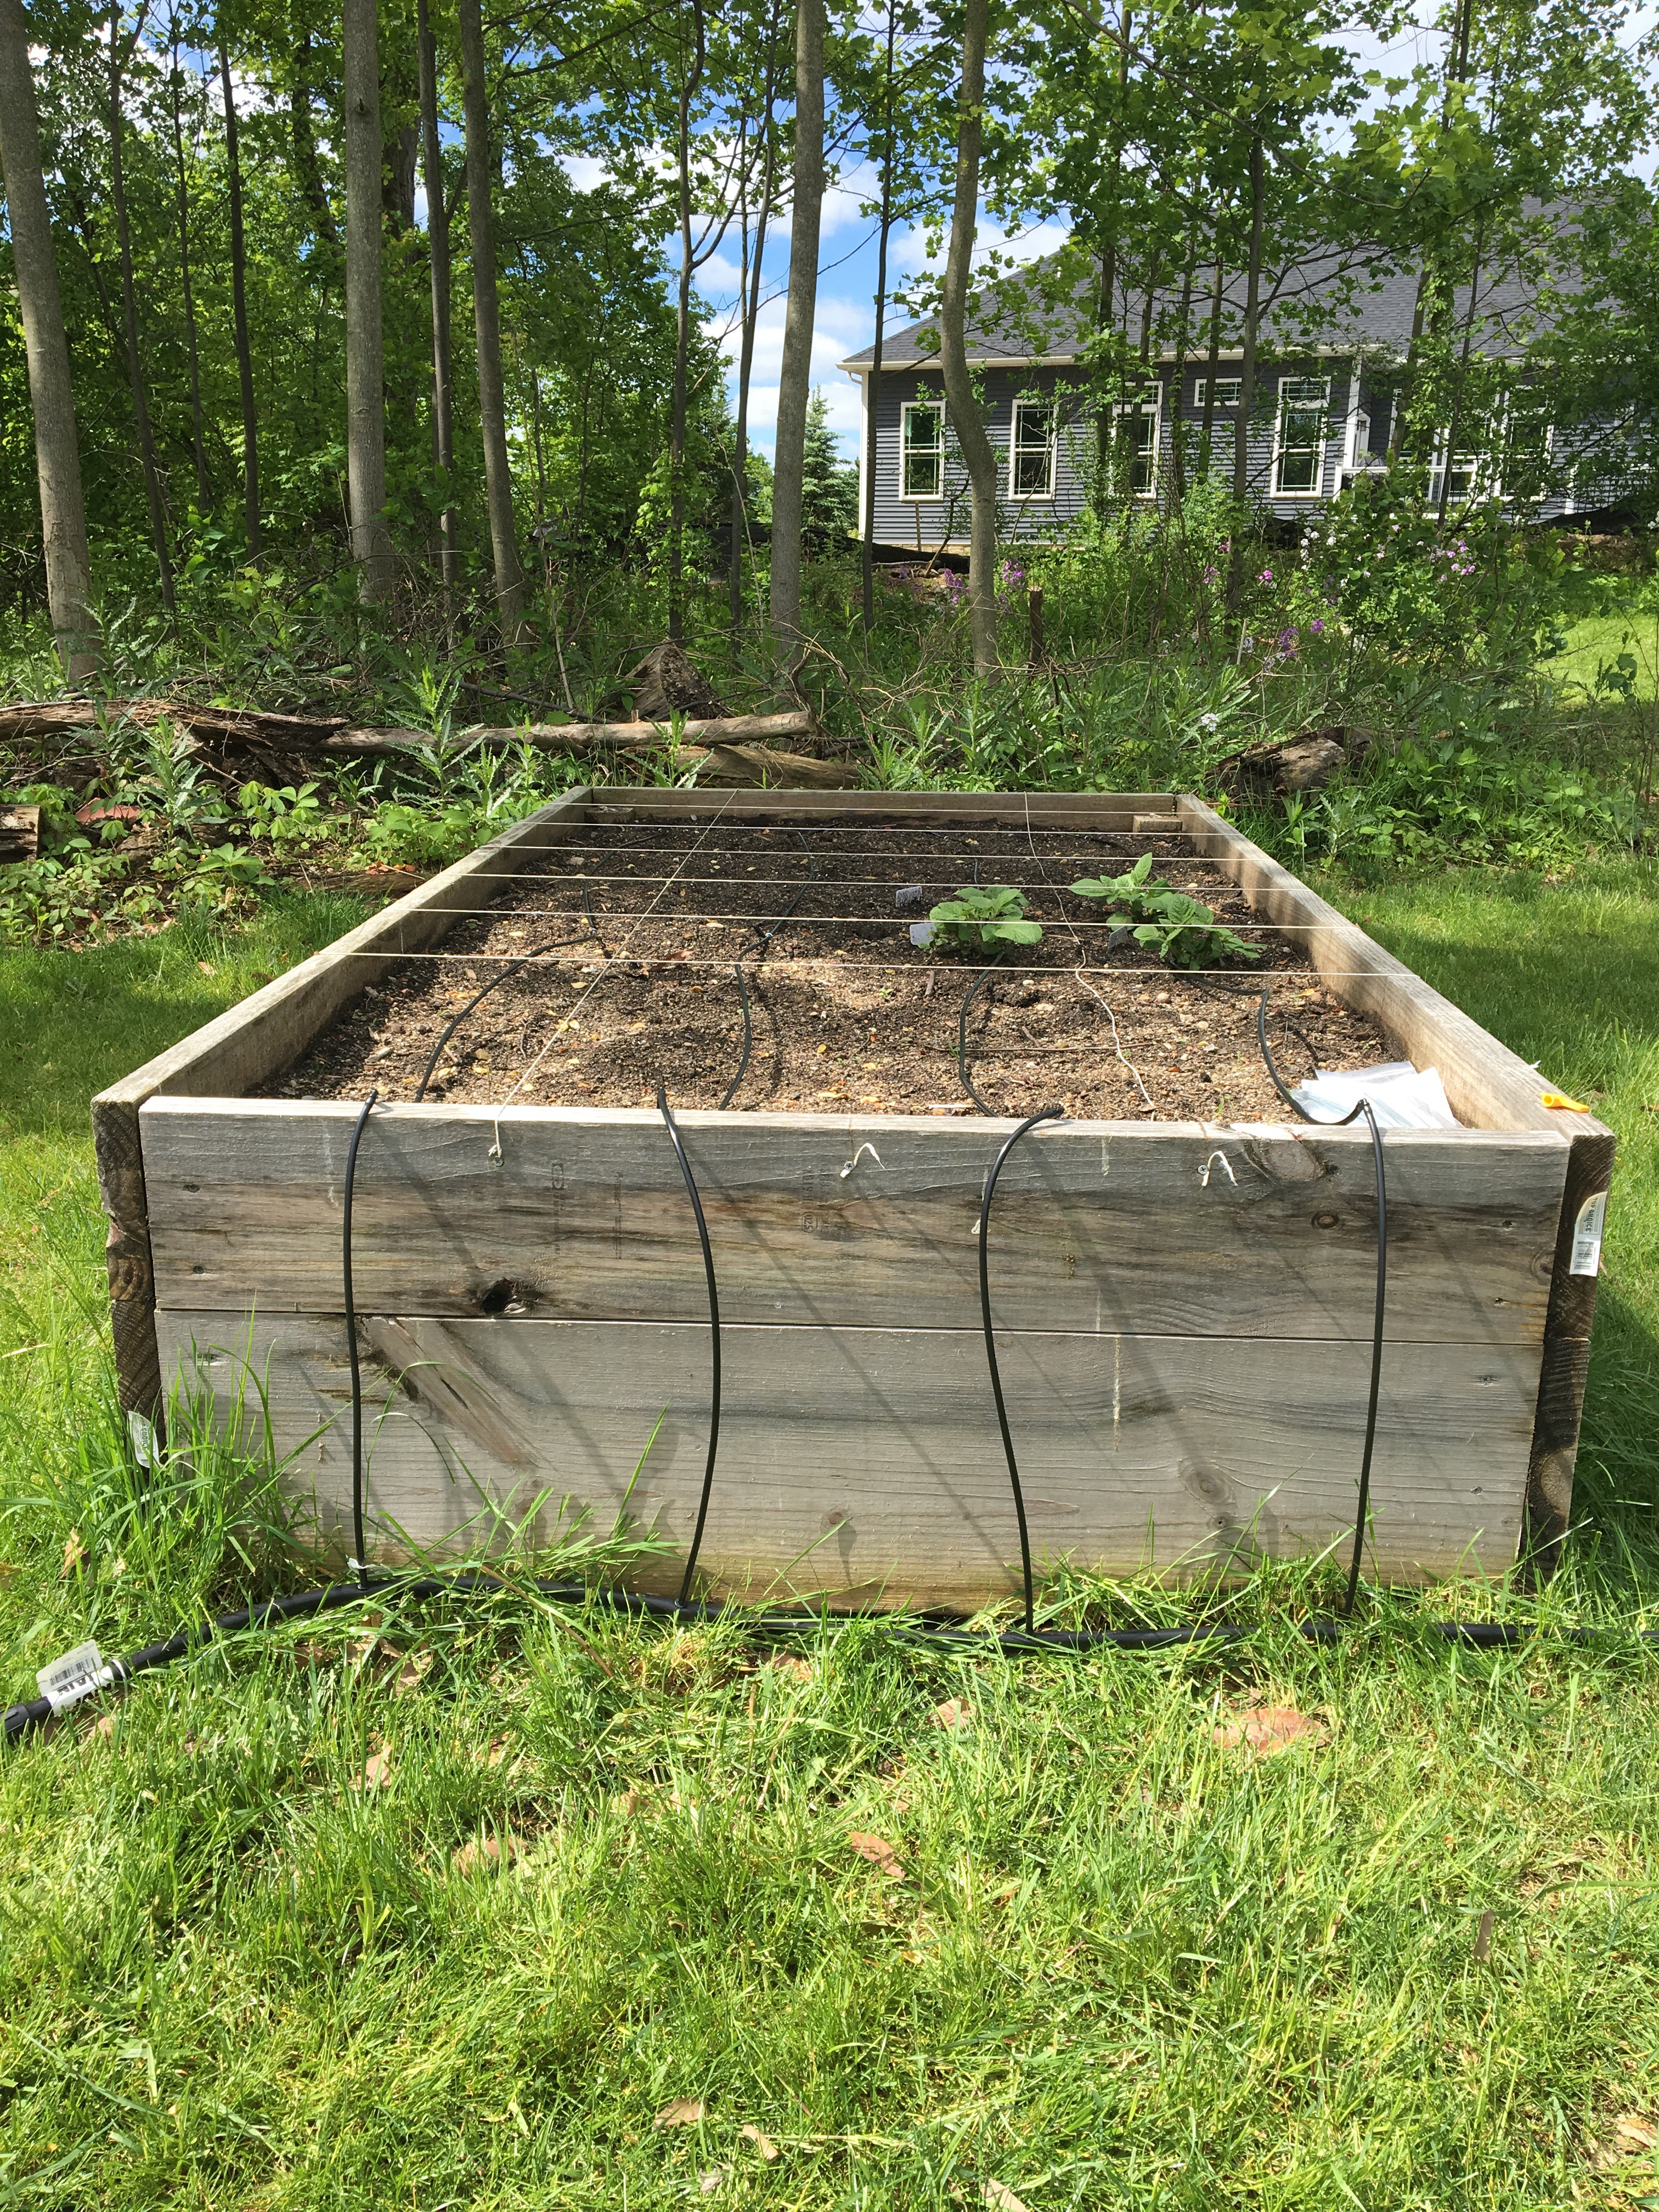
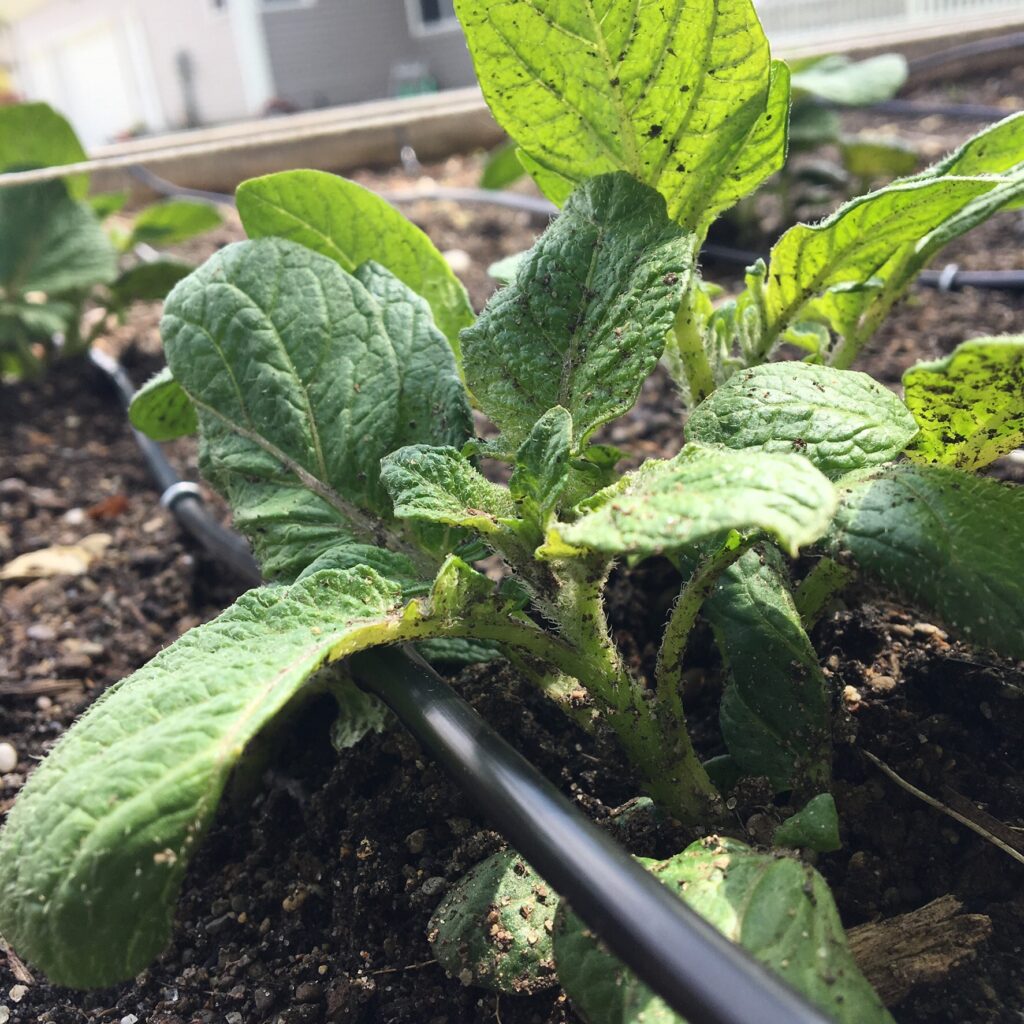
    Drip Irrigation on potato plantI just put together my first drip irrigation system in my raised bed garden and it was a great experience. I recommend it to gardeners out there who are looking to improve their outdoor gardening game, especially if you think your garden could benefit from a more regular and consistent watering pattern.

    I had been using a sprinkler to water my garden, but that was creating some mildew and disease problems on some of my vegetable crops. It also wasted a lot of water, so I needed to water in a different way. So drip irrigation became one of my garden goals for 2017.

    I purchased my kit from Dripworks, on the recommendation of the Seattle Urban Farm Company. There are some great instructional videos on how to set up the kit on the Dripworks YouTube channel. Kudos for that.

    I bought the Dripworks small garden bed kit, which was plenty for my two 4’x8′ raised beds. It cost $59.95.

    Drip irrigation sounds like next level stuff for serious gardeners. A little intimidating. But I really don’t want to work so hard starting seeds to only lose them all because I didn’t water properly. So I guess I’m a serious gardener now. 

    The main components of the kit are a main line, some mini tubing and the emitter drip tube. I now know quite well what these are, but had no idea when I ordered the kit. They said it was everything I needed for raised beds sized like mine, so I went for it.

    The Setup Process

    The kit arrived with clear instructions and each component was clearly marked. The two things I needed in addition to the kit were a regular garden hose (because my spigot is far from my raised beds) and something to cut the tubing (I used pruners).

    Another component that’s required in my garden is a timer, so no matter what, everything gets watered. I have this Orbit hose timer and I love it.

    I attached the included filter and pressure adapter from the kit to the spigot, attached the hose and stretched it out to the beds.


    The main line is the water source and runs along the ground at the heads of my two beds. The mini tubing runs from this main line up from the ground to the soil line of each bed, one for each bed row. 

    You punch holes in the main line wherever you want a drip line in your beds. The kit comes with the tool you need to punch those holes. From there, the mini tubing connects to the drip line.

    Soaker Versus Drip

    Here’s the difference between a soaker line and these drip lines with emitters. Soaker lines seep water out along their whole lengths. I’ve used them before, but I wasn’t very successful with them. The watering isn’t targeted at all and it felt like you had to keep the water running for a very long time to get a good soak.

    The drip line that came with my kit features emitters, basically a hole in the hose, every foot. You plant your plants at the emitters and you’re watering only your target: your plant’s roots.

    Of course, this spacing is drop dead perfect for a square foot garden, which I have!

    My Only Difficulty: Dainty Hands

    The most difficult part of setting up the system was the connectors between the different tubes. Of course, these joints need to be water tight, so the connectors fit very snugly between the tubes. My fingertips were pretty sore from forcing the connections into place.

    I turned the water on at the spigot and there wasn’t one drip or leak where there shouldn’t have been and each emitter was working perfectly. Total success!

    Now I need to figure out how long to leave the water running every day. Have any thoughts or advice on this? Let me know in the comments or on Twitter @howtonaturechat.

  • Drip Irrigation For The Vegetable Garden: I’m Getting The Gear

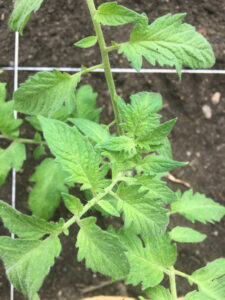
    Tomato plant in raised bed
    Drip irrigation – I’ll do what it takes to keep my tomatoes happy.

    One of my garden goals for 2017 is to switch over to drip irrigation for my vegetable garden raised beds. Last year, I used a tripod sprinkler, which wasted a lot of water and left me with some disease problems.

    I’ve been pretty intimidated at the thought of drip tubes. You basically buy all the parts to make a custom hose and put it together yourself. Where’s my welding torch? Oh yeah, I don’t have one.

    So you need to make sure you have the right lengths and types of tubing. The parts have names that are extremely not self-explanatory. What’s the difference between soaker dripline and microtubing? And let’s not get started on fittings and couplings. I’m sure I’m going to punch a hole in the tubing where I don’t want a hole.

    Where Do I Start?

    I’ve started listening to and loving the Encyclopedia Botanica podcast by the Seattle Urban Farm Company, so I searched for drip irrigation on their blog to see if they had anything to say about it. I found this post on drip irrigation, in which Seattle Urban Farm Company’s Hilary Dahl recommends the Dripworks Garden Bed Irrigation Kit. Everything I need in one box? No more deciphering? Sounds good to me.

    On the product page for the kit, Dripworks has (smartly) included a how-to video, which I will be studying diligently and taking notes on. And bonus — it looks like a welding torch is not required.

    This stuff is just not second nature to me. While the video is great, there are still a few things I’m confused about.

    Backflow prevention. I hear they might be important. No idea if I need it. Websites suggest you check with your local city code to see if they’re required. Ppfftt. I don’t know who to ask — I don’t even know what to Google. I just want to grow some tomatoes! I’m not adding an addition onto my house! I skipped it for now.

    Timer weight worries. The Dripworks website recommends a high-pressure hose extension if you plan to use a timer. I’ll definitely be using a timer, but it doesn’t seem like it will be heavy enough to mess up my spigot. Anyone have experience with this?

    Distance to the beds. Another issue is that the spigot and the raised beds aren’t exactly close to each other. Does anyone bury the hose that runs from the spigot to the beds? Is that a good idea?

    Dripworks offers one of those real-time chats on its website, so that’s a good card to have in my back pocket if something doesn’t work out.

    Well, my kit should arrive next week. Another thing checked off my to-do list.

  • Garden Gift Ideas For Beginner Gardeners

    Do you have a beginner gardener to shop for this holiday season? Here are a few gardening gift ideas to generate more success in the garden or to keep a beginner gardener’s inspiration going strong through the winter.


    Roo Aprons

    Roo apronWomen’s clothes do not have pockets. It makes me insane. That’s why I like the big pouch in Roo Aprons. Keep your garden tools in reach or harvest or weed away. The pouch opens at the bottom when you’re ready to empty it. And it keeps your clothes clean(er). Nice colors. Cool design.

    Roo aprons were designed by a mom who was looking to simplify things. Yes and yes.


    Some Funky Varieties To Grow

    funky veg kit plant theatreThis kit keeps coming up in my suggestions from Amazon: the Plant Theatre Funky Veg Kit. It includes Cosmic Purple Carrot, Golden Zucchini Squash, Tigerella Stripy Tomatoes, Rubine Brussels Sprouts and Rainbow Chard seeds, along with plant markers and peat blocks. Funky, right?
    The company also offers a gourmet flower kit, a psychedelic salad kit and a cocktail garden kit, among others.

    Even if these particular kits aren’t on your shopping list, offering a beginner gardener some unique and difficult-to-find seeds would always be welcome.


    Flower Of The Month Club

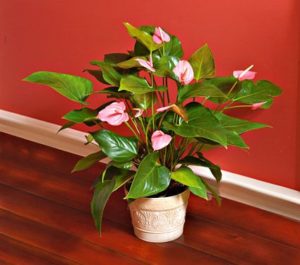
    White flower farm pink anthuriumPretty much a jackpot gift, in my opinion. Check out the monthly options at White Flower Farm, where you can give a houseplant, cut flower, rose or orchid of the month. Even annuals!
    The houseplant for my birthday month is this beautiful pink anthurium *cough cough*.


    Kitchen Compost Bin

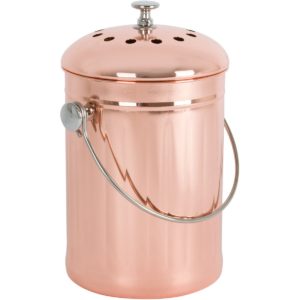
    copper kitchen compost bin

    When you grow vegetables, you eat more vegetables. And you create more kitchen waste. The natural next step is to compost.

    The outdoor compost bin you use is a personal choice, but this copper kitchen compost bin would look great on any counter. I bought this one and can tell you that the includes carbon filter really works. It holds at least a few days worth of scraps.


    Grow Lights

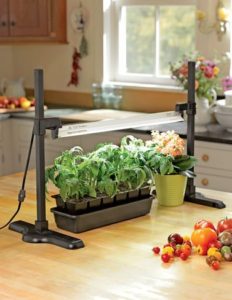
    tabletop grow lightsThere are a lot of different types and sizes of grow lights out there, but this grow light and stand from Gardener’s Supply Company is great for beginners. Once you see how much your plants benefit from being under lights, you can get a bigger setup for your basement or work area and keep this on your kitchen counter. Here’s the one I have in my basement. Keep those plants happy during the winter!

    Great for herbs, houseplants and succulents that are 18 inches or less.


    Books. You Know, Like Paper Books.

    Homegrown Harvest by American Horticultural SocietyI’m hesitant to put any one book on the list because there’s no way you can fit everything you need to know about gardening into one volume. I started checking books out of the library to take what I need from each. After I borrowed this one, I tracked down a copy of this one to keep.
    Homegrown Harvest by the American Horticultural Society runs down information for each crop by season. Nice illustrations for pruning and harvesting, too. Thumbs up.


    Succulent Cuttings 
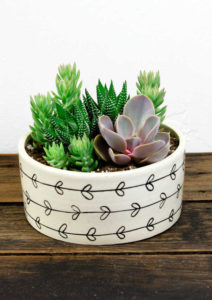
    succulent dish gardenEarlier this year, I bought a batch of 25 succulent cuttings from PlantMadre and I’d say they turned out pretty awesome. You can plant them in a dish garden or wreath, or, like I did, plant them individually and see what happens next.
    For a more do-it-for-me gift, this Etsy shop also offers great planters, dish gardens and terrariums. My favorite is the heart dish shown here.


    Hose Timer

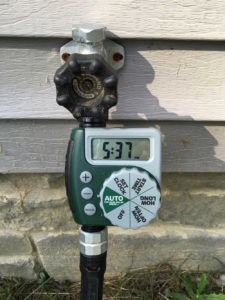
    garden timer, garden hose timerWhen they open the box, it’s not going to be sexy. When they can sleep in because they don’t have to get up to water the tomatoes — that’s pretty sexy. I still think it’s my most important garden tool. Here’s the timer I’m using from Orbit Irrigation.
    If using a timer means a jump from hand watering to the less labor-intensive methods of sprinkler or drip irrigation, a few more items will be required. Get a gift card to cover these, because again, which method your beginner gardener uses is probably a matter of personal preference.

  • 5 Things I’ll Do Differently In My Vegetable Garden Next Year

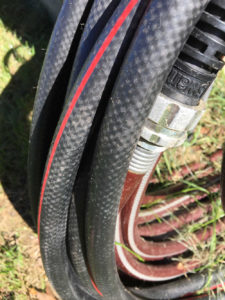
    Irrigation hoseI’m in the process of finishing up my first summer of vegetable gardening and I’m looking back on quite a few successes. I started in April with seeds and I grew and harvested tomatoes, peppers and zucchini in July through September. I stopped an outbreak of blossom end rot.
    Other things I tried were pure learning experiences. I didn’t get any acorn squash or pumpkins because of a powdery mildew problem. My onions didn’t germinate. My peppers were largely crowded out by tomatoes. And my corn grew tiny little ears but not many kernels. I’m going to learn from these challenges.

    This summer has been about eating tomatoes, bell peppers and zucchini, but also about patience and observation. And about learning from things that go wrong. Mainly this:

    Now I’m onto planning for next year and thinking about what I need to research and learn. Here are the top five things that I’ll do differently in my vegetable garden 2.0 next year, most mission critical first.

    1. Drip irrigation. The overhead sprinkler I used this year got the job done, with some unwanted side effects — that powdery mildew problem. There was just too much moisture on the leaves. This method also wasted a lot of water. Next year, drip irrigation. I’m starting my research with this article on DIY irrigation systems from Home For The Harvest. We used soaker hoses once before and I think they became clogged, so I’ll be studying this a lot more.

    2. Attract pollinators to the garden. Now I get what everybody is talking about. The reason I didn’t have more zucchini this year is because they weren’t getting pollinated. And I probably also had a pollination problem with my corn. Bees, get thee to my vegetable garden.

    I have no in-ground garden beds near the raised bed vegetable garden, so this is going to take some planning. I might have some room in the raised beds for some low-growing flowers, but that space is limited. I’d rather have strong, tough perennials in the ground for pollinators to enjoy year after year.

    3. Better staking. Tomatoes and bell peppers could have used sturdier supports this year. And I bet cucumbers and zucchini would have had fewer disease problems if they were raised up away from the soil and supported better. In my square foot garden setup, I think everything would have been a little happier with good staking. Traditional tomato cages are probably out. They just didn’t give tall or sturdy enough support. I added plastic stakes to those plants by late summer.

    Traditional tomato cages are probably out. They just didn’t give tall or sturdy enough support. I added plastic stakes to those plants by late summer. These square cages look good, but require a little DIY and elbow grease.

    In my square foot garden setup, I think everything would have been a little happier with good staking. Traditional tomato cages are probably out. They just didn’t give tall or sturdy enough support. I added plastic stakes to those plants by late summer. These square cages look good but require a little DIY and elbow grease.

    4. Composting. I have all these banana peels and egg shells that I’m just throwing away. How about doing something productive with them? There are quite a few types out there. It seems that a few features I want are a tumbling-type composter with insulation (but not too much insulation) and no metal internal parts to rust. I want to get this in place this fall so I can take advantage of fallen leaves. Any recommendations, internet? Here’s a fun video I watched to get some tips.

    5. Learn about preservation and canning. I was pleasantly surprised by a big tomato harvest this summer. I wasn’t sure I’d harvest any. I grew a middle-of-the-road amount: we weren’t able to use them all in salads and BLTs, but we didn’t have enough to make a big batch of sauce for canning. And it’s a good thing, because I don’t know how to can yet.

    Let’s put it this way: I’d like to grow some fruit next year, but not until I learn how to make jam.

    Do you have advice for me on any of these topics?

    Let’s talk on Twitter @HowToNatureChat, in the comments below or by email at [email protected].

    [jetpack_subscription_form]

  • The Timer Is My Most Important Garden Tool

    garden timer, garden hose timerWrapping up my first full year of serious gardening, there’s one garden tool that stands out as the most important. Trowels and gardening gloves, sure, but what really changed my garden for the better this season was automation! I used two timers through this season and they completely changed me from an angsty gardener to a successful one.

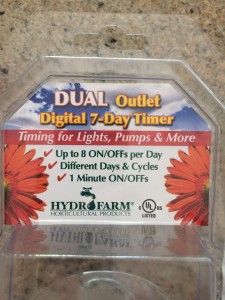
    Grow Lights On A Timer. First, I used a timer on my grow lights as I was starting seeds for my vegetables and flowers. I used the Digital 7-Day Timer from HydroFarm. It was great. The grow light setup is in our basement, so there was no running up and down both morning and night to turn on and off the lights. Or forgetting to run up and down the stairs to turn on and off the lights. I almost certainly would have messed up my first time using grow lights if I didn’t have the timer, either burning plants up or forgetting to turn the lights on.

    I set this timer to turn on at 8 am and off at 8 pm. This timer has two outlets, so I was able to use it for both the lights and a small fan I used to get air circulating around the seedlings. With the timer, I was able to grow strong, bushy, healthy seedlings, which I wouldn’t have had otherwise.

    Irrigation On A Timer. Watering plants. It sounds like the easiest task. But again, you have to remember to do it. And even then, you need to do it properly. I am the self-proclaimed underwaterer, so you can imagine how I felt when I realized I could put irrigation on a timer, too.

    In this year’s vegetable garden, I’m using overhead irrigation — a tripod sprinkler like this one. I know this isn’t ideal for a vegetable garden, but it’s what I had to work with this season. I’m using the Orbit single dial water timer. The first day, we set the timer for the water to run for 15 minutes. After a few days, we realized we needed more water, so we increased the time to 30 minutes. Now it runs every day before I’m even out of bed.

    Here’s how watering my plants used to go: I wake up in the morning late for work, run out the door without watering anything. I promise that I will water as soon as I get home from work. Then when I get home, dinner and dishes later, I remember the rule that you shouldn’t water at night. This is a good formula for crispy plants.

    That’s all over now with this simple addition. Drip irrigation will be the upgrade for next year. And maybe timers that I can control with my smart phone? Is that a thing yet?

  • Using Grow Lights With Lettuce Seedlings: A Fall Test

    Grow lights romaine fall testWhen I started baby spinach and romaine lettuce seeds for a fall harvest, the seedlings were spindly and sad. This has happened to me more than once while trying to start plants from seed and I never knew why. In the past, I’ve planted these sad sprouts outside (where they failed) and eventually just gave up on growing from seed.

    This time, I posted photos of these seedlings online and got my answer — the problem is not too much or too little water, but not enough light. This should have been obvious to me, as many people who live in Cleveland could also use grow lights. A vitamin D supplement is necessary for pretty much everyone who lives here.

    I’ve chalked my lack of success up to this point to — you guessed it — a black thumb! So now my grow light adventure begins.

    Grow lights timer
    Here’s the timer I’m using with the lights. From Hydro Farm.

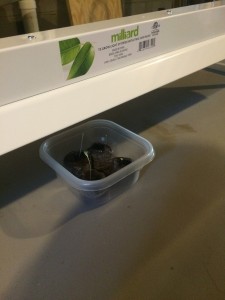
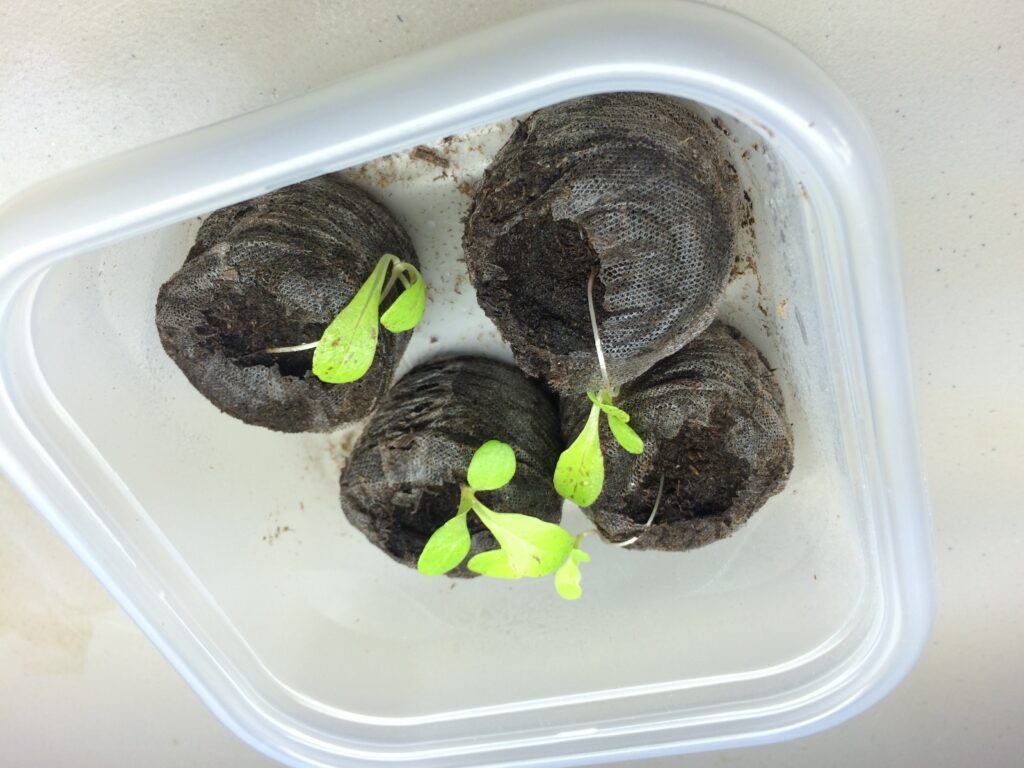
    As a test, I planted four ‘Freckles’ romaine seeds. I’m lighting them from 8am to 8pm every day under the  Milliard Jump Start grow light system. I’m also using a HydroFarm programmable timer.

    The grow lights and bench are in the darkest corner of my basement, which seems weird, but that’s where we had the magical combination of space and electricity.

    I think I was overwatering at first, because two days ago the seedlings started drooping badly. I switched to a watering can too soon after germination, I think. I’m back to a squirter bottle for now.

    Here’s what they look like today, eight days after putting them under lights. We’ll see if they recover. One looks really good. The other three…not so sure.

    'Freckles' romaine under lights

  • Cleaning My Pruning Shears: Inspiration For This Website

    Garden pruner sharpening and cleaningI sharpened and cleaned my pruning shears today. I’m embarrassed to admit that this is the first time I’ve ever completed this task.
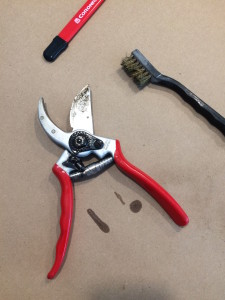
    Earlier this year, I was in a #gardenchat and the topic of pruning came up, including what people do wrong when they’re pruning and tool maintenance. I realized that I didn’t have a good answers for any of the questions that were asked. I always want to prune when it’s not the right time. Then I forget to do it when the time is right. I’m the “people” they’re talking about! I usually do a little research on how to make cuts, but still wonder if I’m doing it right. I’d never maintained a garden tool properly.

    I thought there needed to be a place for people who don’t know the answers yet or are learning as they go along. And now I have this website.

    So back to the pruners — I Googled how to maintain them and here’s how it went.

    Garden pruner cleaning and sharpeningBrush with a steel brush. Looks a little better now. Still kinda…dirty? Rusty? That’s what happens when you don’t keep up with maintenance. Tsk tsk.

    Run sharpener over blade. This sharpener is a Corona tool that I got on Amazon. As I’m running the tool over the blade, I notice a ton of nicks on the pruner blade. They aren’t completely worked out of the blade after the four to five swipes I take with the sharpener. Did I make them better or worse? I guess we’ll see when it’s time to prune something.

    Oil the joints. Spray, spray, spray with WD-40. Before I cleaned them, these pruners did not spring back open after cutting something. I would have to pry them open after I made a cut. Now they’re like new.

    And now my pruners are clean and ready for a workout. I must be a real gardener now. Stripes earned? At least one stripe?

    Update: Pruned an unruly rubber plant. Like a warm knife through butter. Nice.