You know things are going well in someone’s garden when they sit down for a coffee break there. I think of these gardeners looking in on their tomato and zucchini plants early in the morning, before the sun and heat make coffee unappetizing. They’re relaxing and reflecting on what it takes to put together a successful garden. And sitting back and enjoying what comes from the difficult labor it takes to get there. Enjoy it, gardeners!
Whenever I think about growing tomatoes, I can’t help but remember that scene from Steel Magnolias. Ouiser tells the ladies at Truvy’s beauty parlor that she grows them only because that’s what old Southern ladies are supposed to do. She doesn’t even like them, but seems to be able to grow them with no problem.
So what have I been doing wrong all these years? Well, here’s what I did right this year (and wrong in the past) to grow some strong and productive tomato plants.
Plant them deep. I wrote previously about a post from Deb that gave some advice on planting tomatoes — deep enough that even the lowest branches are buried. This gives more surface area for roots to form. I’ve never done this before, but I did this year. I can’t wait for the end of the season to see what kind of root system I built this time.
Tomato sucker — pull that sucker!
Give tomatoes food, especially calcium. I did not fertilize at planting and I should have, because nutrients prevent problems before they start. Blossom end rot in tomatoes develops from a calcium deficiency. You can get calcium by applying gypsym (thanks to jakemississipping on Instagram) or in fertilizer. A little before mid-season, I applied a synthetic formulation for tomatoes and vegetables, which includes an extra punch of calcium. Growth really took off and I haven’t seen anything that looks like blossom end rot yet.
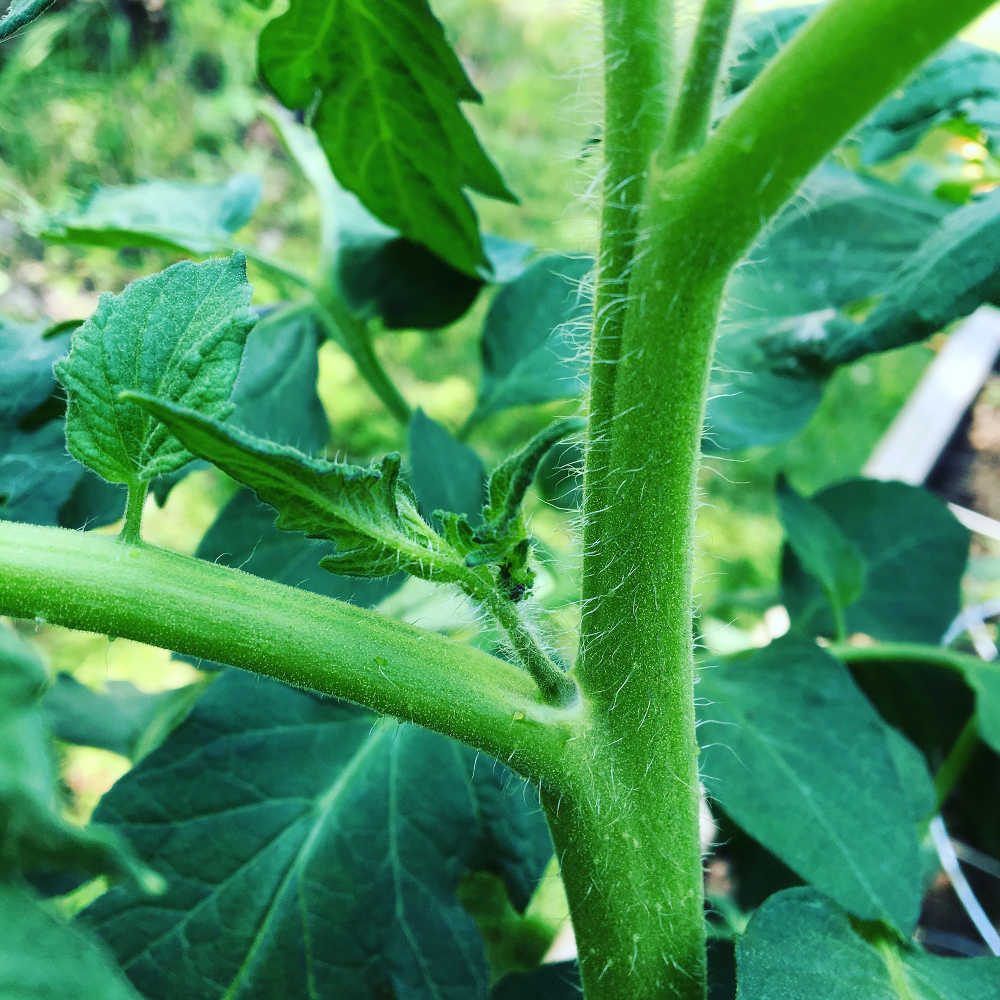
Pull the suckers. Easily put, suckers are little shoots that grow out of the armpits of tomato plants — between the strong, main stem and its branches. Pinch them off. They take away energy that should be used for making tomatoes.
Water those tomatoes consistently. I think I already knew they say you need consistent watering on tomatoes, but this year I really committed to it. The solution: a timer! I’m watering with a sprinkler at 6:00 am for a half hour every day. It’s working! These plants are so lush, it’s ridiculous.
Staking tomatoes. If you do all the things above right, you’re going to have some tall tomato plants. I bought the regular three-ringed tomato cages from Lowe’s, but the plants are already lapping over the top. I saw several gardeners’ home-made versions like the ones in this post on DIY beefy tomato cages from The Real Farmhouse. A lot taller and a lot more support.
Tomato growth stalled? Wait for the heat. I had been dreading the really hot temperatures, thinking they would evaporate water and wilt my plants. Just the opposite has happened. When the temperatures finally reached the 90s, that’s when growth really took off. Patience, patience, patience. Theresa of Tending My Garden reminded me to be patient.
Prune lower tomato branches to avoid pests and disease. When plants reach two feet tall, prune away the lower branches. Leaves dragging in wet soil are a hotspot for pests and diseases.
“…adding extra fertilizer seems like a logical thing to do, to give those tomatoes a little extra boost. But don’t do it. The environmental changes that result in this ripening slowdown are nature’s way of dealing with and resolving the challenge. It’s not a nutritional deficiency. In fact, adding fertilizer now could exacerbate the problem by forcing the plants into a growth mode at an inappropriate time.”
I have about 30 flowers blooming, so many more to come. Let’s see if I can bring these tomatoes down the homestretch and into my salads.
I snipped some branches off my basil plant to get the whole thing branching and bushier, so I plucked these basil leaves and left them in water for later use. It’s been a few days and I’m ready to use them, so today I looked to make sure they weren’t doing anything funny in the water. Yep, they were. Nature finds a way.
But I feel like if I’d tried to do this on purpose, it wouldn’t have worked. Haha.
…and the takeaways I’ve gleaned from the internet.
Can you eat pickling cucumbers? Yes.
Conventional vs. organic fertilizer. I’m still confused. What is the difference?
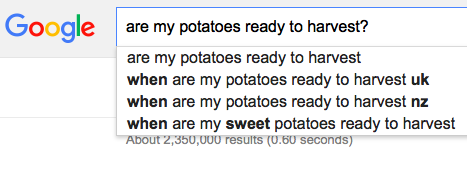
How do I know if my potatoes are ready to harvest? When flowers and stems are starting to die back. But I got this answer on Twitter from Longfield Gardens. Thank you again.
Hip Hops beer plant. Saw a picture of this hops plant from the Cultivate show coverage. I didn’t find too much information about it online, but it’s from AgriStarts.
Ron Finley Can You Dig This.RonFinley.com. Gangster gardener. Documentary is out. Limited screenings. Not available on Netflix yet.
Green mold on tops of plants. Remove it and your plants will be ok?
Part sun perennials. Astilbe is my favorite, I think. Monarda, hosta, heuchera, butterfly bush, coreopsis, yarrow, peonies (I think) are others.
Harvesting basil. Prune at the stem, don’t pick off leaves. I love articles that have the sentence, “Turns out, I did everything wrong.” Been there. Thanks, Food Renegade.
Wrapping up my first full year of serious gardening, there’s one garden tool that stands out as the most important. Trowels and gardening gloves, sure, but what really changed my garden for the better this season was automation! I used two timers through this season and they completely changed me from an angsty gardener to a successful one.
Grow Lights On A Timer. First, I used a timer on my grow lights as I was starting seeds for my vegetables and flowers. I used the Digital 7-Day Timer from HydroFarm. It was great. The grow light setup is in our basement, so there was no running up and down both morning and night to turn on and off the lights. Or forgetting to run up and down the stairs to turn on and off the lights. I almost certainly would have messed up my first time using grow lights if I didn’t have the timer, either burning plants up or forgetting to turn the lights on.
I set this timer to turn on at 8 am and off at 8 pm. This timer has two outlets, so I was able to use it for both the lights and a small fan I used to get air circulating around the seedlings. With the timer, I was able to grow strong, bushy, healthy seedlings, which I wouldn’t have had otherwise.
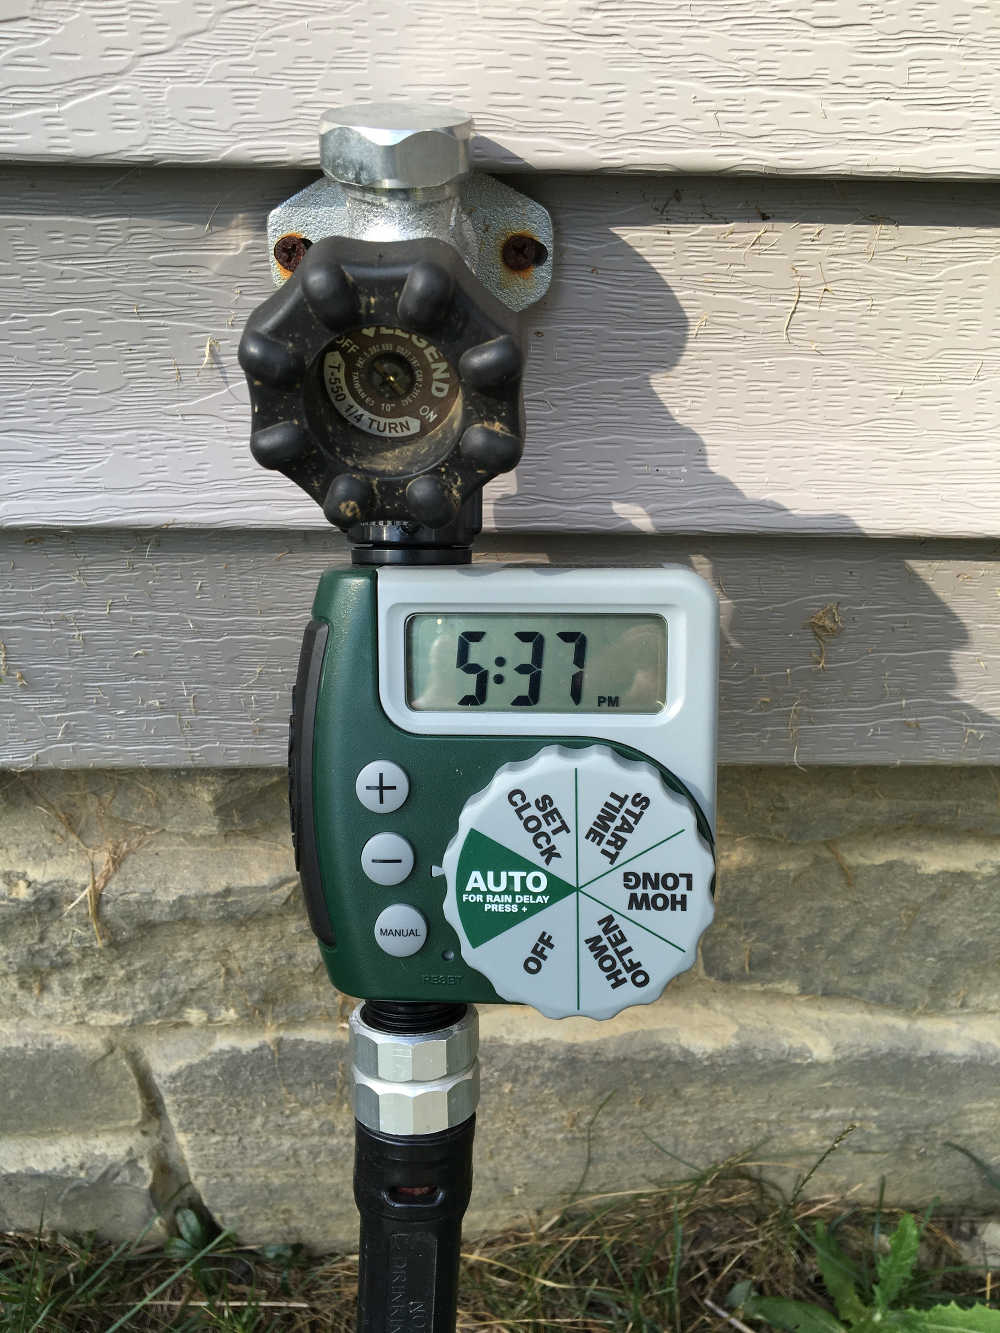
Irrigation On A Timer. Watering plants. It sounds like the easiest task. But again, you have to remember to do it. And even then, you need to do it properly. I am the self-proclaimed underwaterer, so you can imagine how I felt when I realized I could put irrigation on a timer, too.
In this year’s vegetable garden, I’m using overhead irrigation — a tripod sprinkler like this one. I know this isn’t ideal for a vegetable garden, but it’s what I had to work with this season. I’m using the Orbit single dial water timer. The first day, we set the timer for the water to run for 15 minutes. After a few days, we realized we needed more water, so we increased the time to 30 minutes. Now it runs every day before I’m even out of bed.
Here’s how watering my plants used to go: I wake up in the morning late for work, run out the door without watering anything. I promise that I will water as soon as I get home from work. Then when I get home, dinner and dishes later, I remember the rule that you shouldn’t water at night. This is a good formula for crispy plants.
That’s all over now with this simple addition. Drip irrigation will be the upgrade for next year. And maybe timers that I can control with my smart phone? Is that a thing yet?
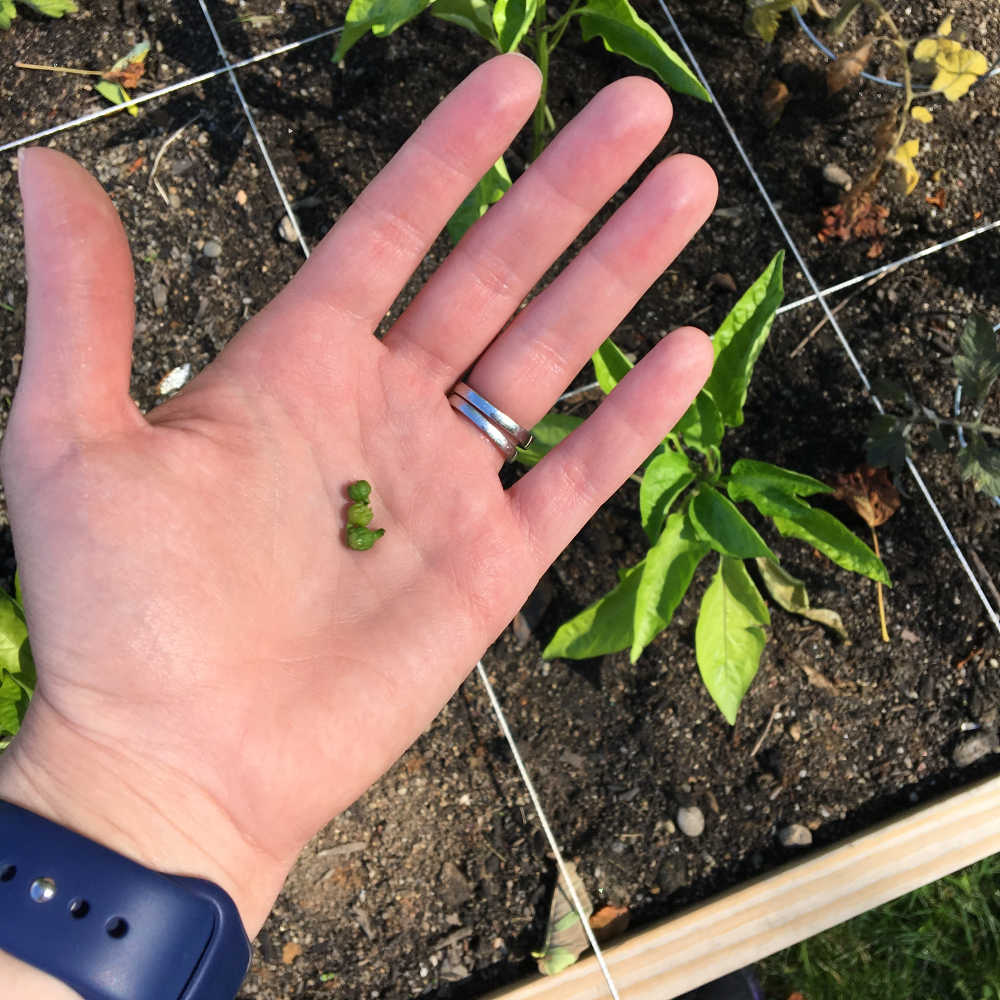
There’s one method for gardening success that is completely counterintuitive to me: cut to promote growth. In many cases, if you make a cut in a plant’s branch, you promote more growth or flowering in that spot. This applies to a lot of succulents, trees and, as it turns out, vegetables.
A photo posted by Gardening Tips (@gardeningtips) on
My instinct tell me to cut when something’s dead or headed that way. And removing buds? The same buds that I’ve been waiting to see since March? Aaaarrgh!
OK, I did it. Here’s my version of exactly the same shot. We’ll see how it goes.
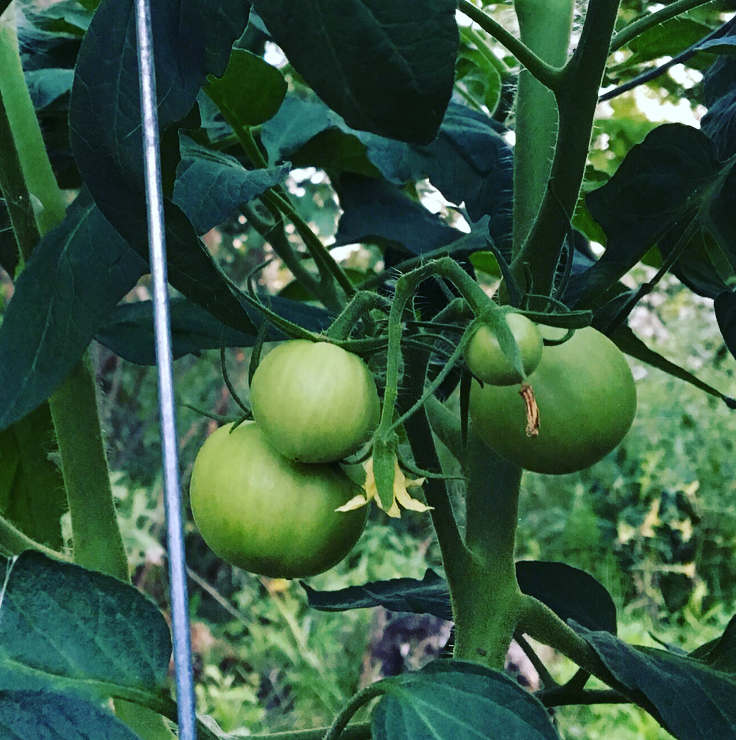
If you look closely, two tiny flowers on this roma tomato.
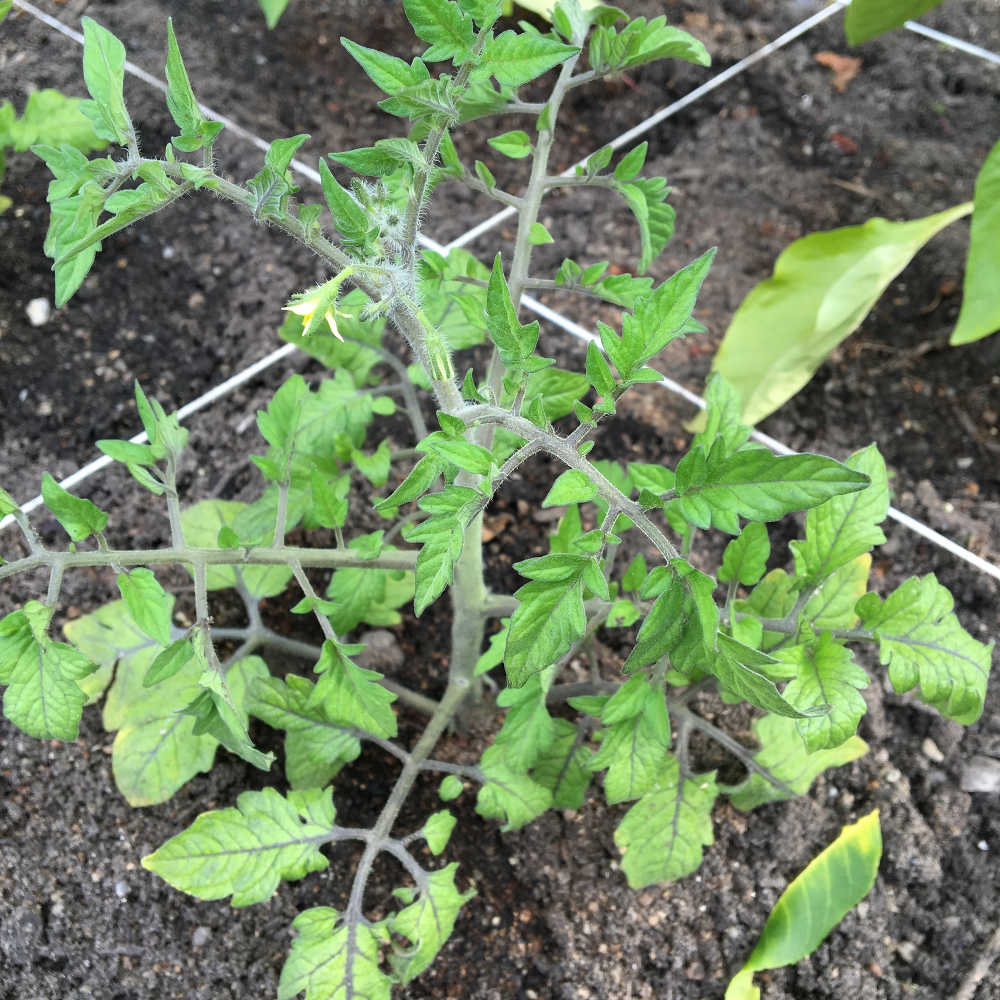
With any gardening project, I always seem to reach a point where I’m not sure if things are going the way they should be. It’s that moment when things have been moving along, growing, and then things start to look a little off. I wonder if I need to be doing something differently to continue successfully.
Our raised vegetable garden has been planted for a little over a month now. The temperature is rising. I’m wondering if the plants are getting enough water and if they’re growing fast enough in our shortish gardening season. Are they getting enough sun? And the ultimate question: Are they going to start producing some vegetables so I can get my caprese on?
I think maybe I should make a change, but I’m not sure what. Here’s what going on with tomatoes:
Yellowing lower leaves on tomatoes. It’s early in the season and we have a few tiny flowers on one of our two varieties. One plant has a lower branch of yellowing leaves. From reading a bit online, it looks like this could be a drought problem. Surprise, surprise for this chronic underwaterer. Or it could be a nutrient deficiency and we need to fertilize. So I fertilize and increase watering. No more yellowing on any other leaves. Did I fix it?
Stalled growth on tomato plants. When you Google this, it’s pretty disappointing how few articles from actual garden gurus come up. I see mostly questions and comments on forums and message boards. This one is pretty good: What To Do If Tomato Plant Stops Growing. I have been removing suckers, but growth seems to have stalled. This points to nutrient deficiency, too?
Then I found this post — Vegetable Plants — Not Growing? Stunted? Yellow Leaves? Yes! All of the above. The author Theresa has been organic gardening for 37 years, so I know this is gonna be the good stuff. This quote from the article. I should have known.
I think the major culprit behind most gardeners obsessing about what is described above is how our society promotes “perfection” and “attaining everything quickly”. In our world today bigger is better and everything (men – women – and vegetables) are pictured as being without blemish. And everything has to be fast. To one degree or the other, we are all influenced by this. It’s almost impossible not to be. (Notice I said almost!)
Theresa of Tending My Garden, I think you’re my new favorite. Will you be my best friend? I don’t see you on Twitter. If you want to be, hit me up. Although comparing my tomato plants to other peoples’ on Instagram got me into this whole worry spiral…
I’m going to fertilize again in a few weeks, but I’ll also work in a good portion of patience and keeping my eyes on my own paper.
While I didn’t build the raised beds for our vegetable garden with my own hands, I supervised. I was super impatient about making choices and getting the beds built so I could start planting, but there are some important decisions to be made.
You’ll want to consult with other gardeners in your area to determine the species of wood and pest control solutions you may need to make your raised garden a success. Here’s how it went.
What materials are used? After a brief discussion about building the raised garden beds out of patio pavers, we ended up going with Southern Yellow Pine (SYP) for the walls and Douglas Fir 4×4 posts to reinforce the corners. These species were inexpensive and non-treated, which is important for growing food. SYP is available in treated and untreated versions, so make sure you double check the stack you buy from. Cedar, redwood and hemlock are also good choices if they’re cost effective in your area.
How big is it? We built two beds for now, with dimensions of 4 feet x 8 feet and 18 inches deep. We thought 12 inches would be too shallow, but 24 inches too deep, so we split the difference.
In each corner, the planks are attached to the corner posts with lots of 3 1/2″ deck screws. The posts are on top of the grass, not driven into the ground. The weight of the soil is more than enough to hold the beds in place.
How will we keep pests out? I hear from other gardeners in our neighborhood that our biggest problems will be rabbits and moles. The height will hopefully help keep the rabbits out. We also lined the bottoms of the beds with 1/2″ galvanized hardware cloth, to keep out any pests coming in from underneath. The hardware cloth is stapled to the bottom of the garden beds with a staple gun. And we used galvanized wire every 8 to 10 inches to join the two sections of hardware cloth. Hopefully, this prevents any underground visitors to our garden.
What about the soil? Soil is a mix of topsoil, compost and peat. It was delivered in bulk from a local landscape supply company. Each bed required almost 2 yards of soil. That’s a lot
Here’s the equation for figuring out how much you’ll need: number of cubic feet in your beds (in our case, 4 x 8 x 1.5 = 96) divided by the number of feet in a cubic yard (27). The result is about 1.8 yards per bed.
One last touch is a grid dividing the beds for square foot planting. We used mason line, a nylon string, and attached it to the garden bed walls with decking screws. Really indulges my need for order.
I planted up these raised beds on June 4, including plants, direct sow seeds and some sprouted potatoes. Updates to come.
When I read about planting and growing tomatoes, books and websites say to plant them deep. So that makes me think, “OK, dig the hole a little deeper than other plants.” I learned this spring that it’s a little bit more than that.
As I’ve looked more closely at photos and especially this video by Deb’s Greenhouse, I see that you bury most of the plant. Maybe this is why I haven’t been successful in the past. Good to know!